
Chris Williams' Journal

Home Page: Chris W
Gosford, NSW, Australia
| Total Posts: 225 | Latest Post: 2026-01-22 |
| Table of Contents | RSS Feed |
Here: https://www.mgexp.com/forum/off-topic-forum.47/my-makita-hand-planer-an-oldie-and-a.5016366/
These are some pics of the cutter head.
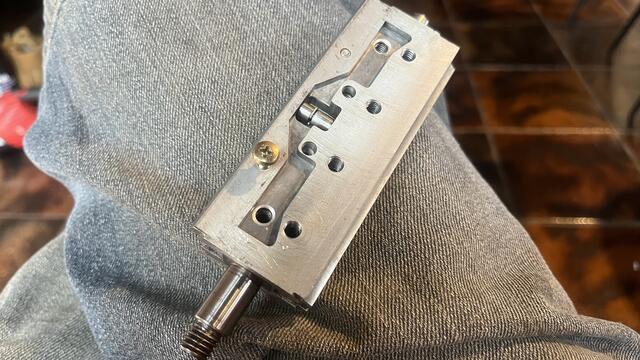

I’ve stripped it down as far as I think I need to to try and extract the broken screw in the Aluminium.
Probably my own fault. I don’t remember doing this and it’s probably just a couple of years since I must have but I’m pretty sure I must have put these in with some loctite. Idiot move.
Anyway, this one just broke the head off flush.
It’s only the guide to hold the cutter while you adjust the depth but adjusting the cutter is difficult enough without having the guide flopping around as well.
The brass screw is just in the other hole for reference.
Any thoughts on how to get this out. Haven’t tried anything yet, don’t want to make it worse.
Anyone had successfull experience with dissolving loctite?
After some discussion this is what I did.
NEVER, EVER, have I had this much success doing something like this.
I'm back home now and had a go at this. the plan was to heat soak it in my oven for an hour or so and I used the hottest setting I could. The oven has a self cleaning mode which heats the oven to about 300º C. It may not get that hot, the highest temp written on the dial is 250º and there's 3 graduation marks after that so it the marks prior to that are any guide, it may be about 280º. anyway it was hot enough to 'blue' the shaft.
After letting it cool in the oven for about 2 hours after switching off, I hoped the Loctite would be degraded enough to allow me to use a sharp push and maybe turn the screw a little so I could work it out.
No such luck and I didn't want to muck up the top surface so I gave that away.
After a bit of deliberation I thought, 'what the heck', I'll set it up in the drill press and see if I can run a small drill through the centre.
Used a new 2.0mm drill bit, centre punched an estimated centre and very warily drilled a hole through the middle of the screw. Took it really slowly and that went well.
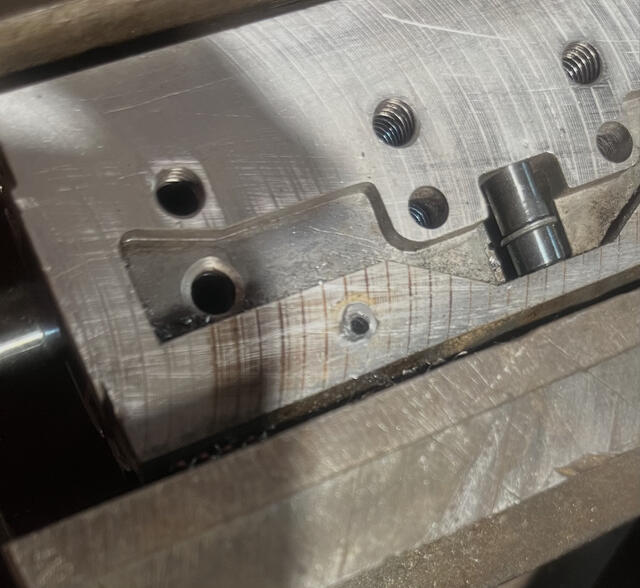
I think I had it pretty well centred. I checked the drilling size for a 4mm x 0.7 thread and it was 3.3mm. Okay, so I went to 2.5mm and got this, which then told me it's not in the centre. Hmm, not much chance of doing anything about that!

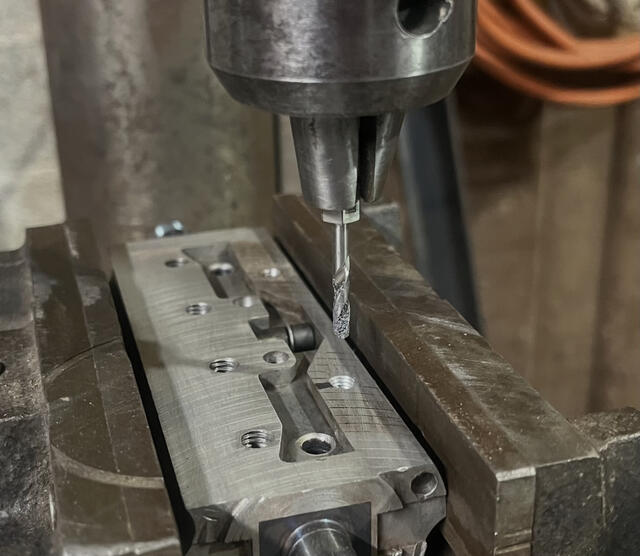
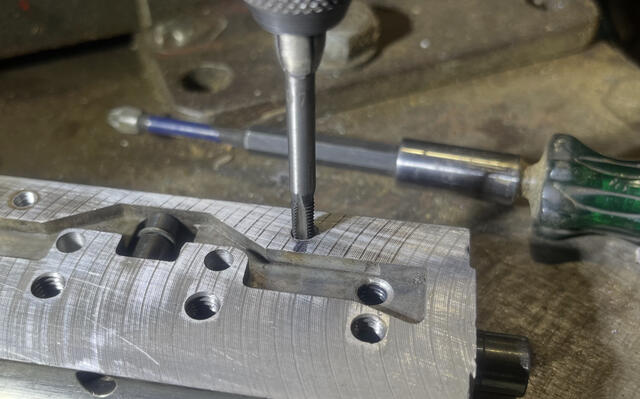
Then I remembered Haps comment about using a mill. I don't have a mill, but with a more rigid drill bit and the vice locked down, maybe I can get a 3mm drill to cut more precisely in the centre.
I have a set of stubby drill bits so I used the 3mm drill from that and set the vice off centre in the direction the hole needs to move to.
Taking the drilling VERY slowly I may be able to centre everything up and take that drill through to the end of the bolt.
To my surprise, I was able to do that without any deflection of the bit.
And achieved what I thought I would never be able to do. I could see the thread inside the hole all the way around.
Then very gingerly I started the tap into the hole after attempting to pick out some of the remnants of the screw and blowing out the residue with compressed air.
Taking it slowly and after each turn, taking the tap out and blowing out any residue, I successfully cleaned the thread out.
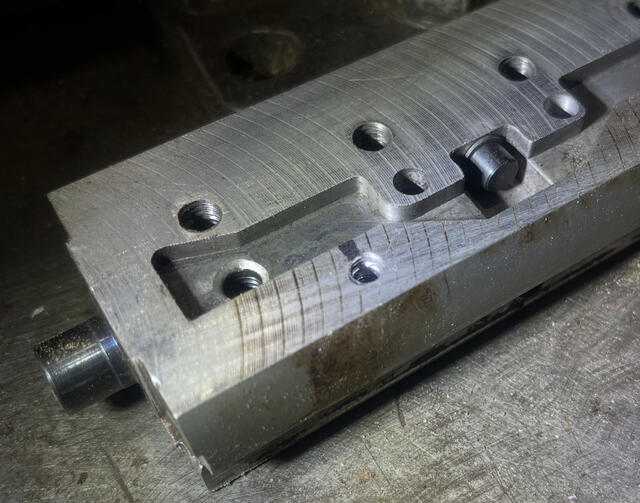
And this is what I got.
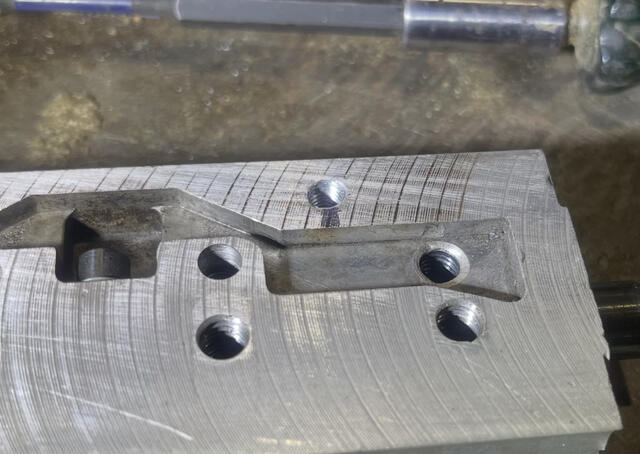
Put a good screw it and success. It's a bit loose as it starts off but as the screw gets deeper it doesn't have too much play.
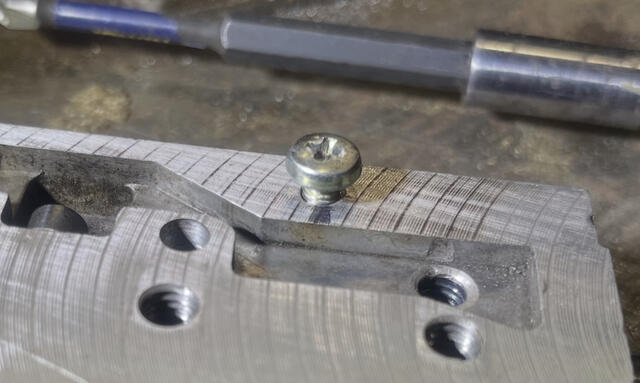
Really pleased with the result.
These are the drills and the tap that I used.

I'm calling this done! I'll have to get a new set of screws. I might see if I can get some just a little longer.
Thanks, everyone for your input.
Car hasn't been running well of late and I just haven't had the time or the motivation to do anything about it.
I was behind the car recently and noticed something odd.
The exhaust was hanging down at the back to the point it was actually resting on the ground.
The rear hangers had failed AND the centre hanger as well.
Rego was due and I simply did not have the time to do the checks and fixes.
It's unfortunate that all 3 of my cars have their registration due in October.
Anyway consequently the MG is past its rego date so I'm on a short timeline to get it running right and passed.
This is about the centre hanger.
It's never had the proper hanger here and I don't have any faith in the quality of the proper hanger to spend the $s to buy it.
Previous hanger was a piece of car tyre with 2 holes in it and it lasted a fair while.
So, using the same principle as the axle straps, I made this using some SS sheet and a length of old seat belt.
I'm a bit worried about the heat but I'll let you know how it goes.
It's one piece of seat belt that is looped down and around a bush that the bolt goes through and doubles back up into the folded keeper bolted to the body.
It comes apart so I can replace the webbing when it breaks or use something else if it proved unsatisfactory.
The metal loop, the top keeper and the bush are made from Stainless Steel.
Stainless is a little difficult to drill and my holes aren't perfect, as you can see, but I'm happy.

0-2

0-1

Want to leave a comment or ask the owner a question?
Sign in or register a new account — it's free


IMG 20191206 191640

IMG 20191206 191709

IMG 20191206 191819

IMG 20191206 192104

IMG 20191206 192705

IMG 20191206 192722

IMG 20191206 192931

IMG 20191206 192944

IMG 20191206 193006

IMG 20191206 193254
Want to leave a comment or ask the owner a question?
Sign in or register a new account — it's free

The plan: Replace the 2 rivet posts with some internally threaded rod. I used some old broken Hex Drill bits for these, drilled out with a 11/64" (4.3mm) and tapped 5mmx0.8.
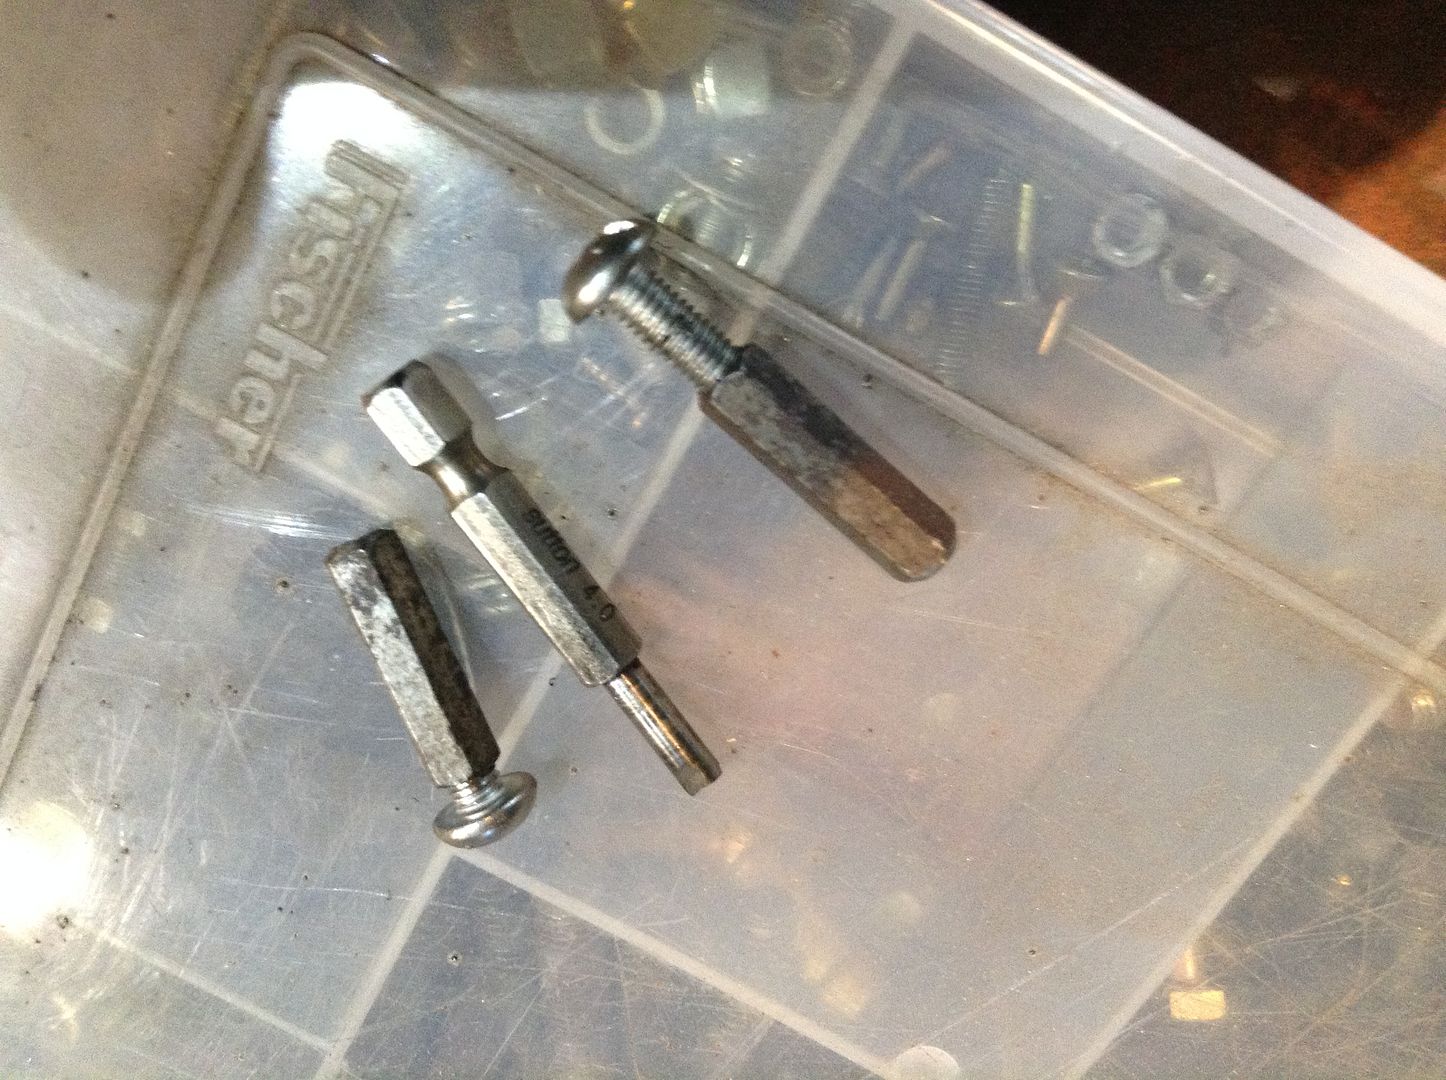
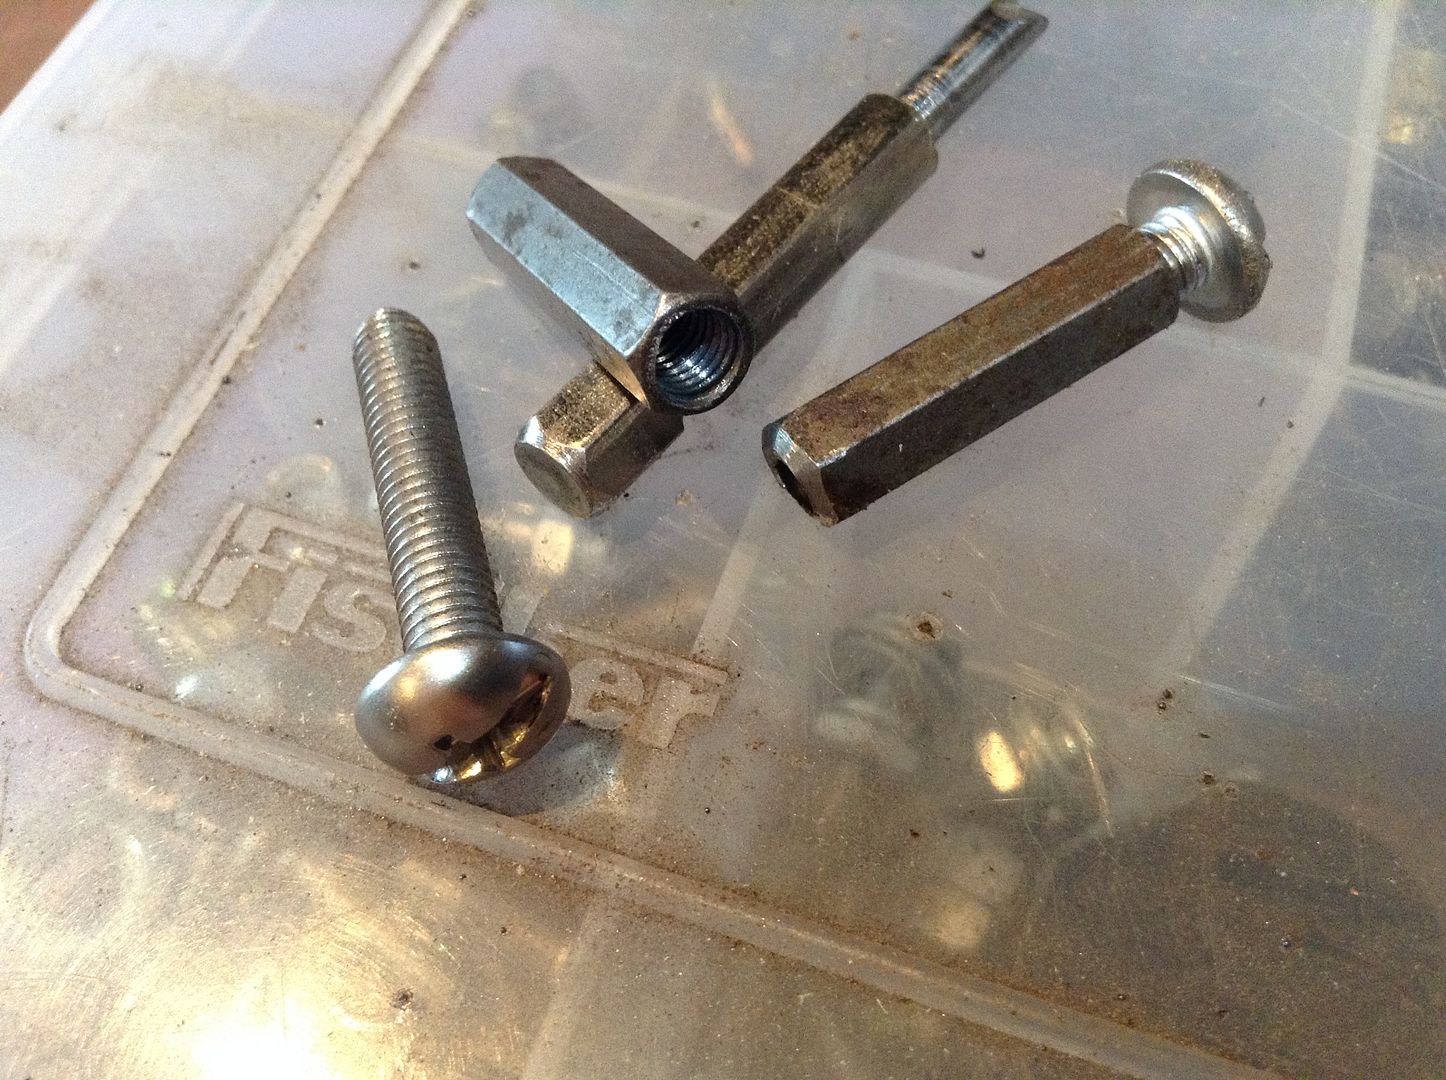
This is what is proposed:
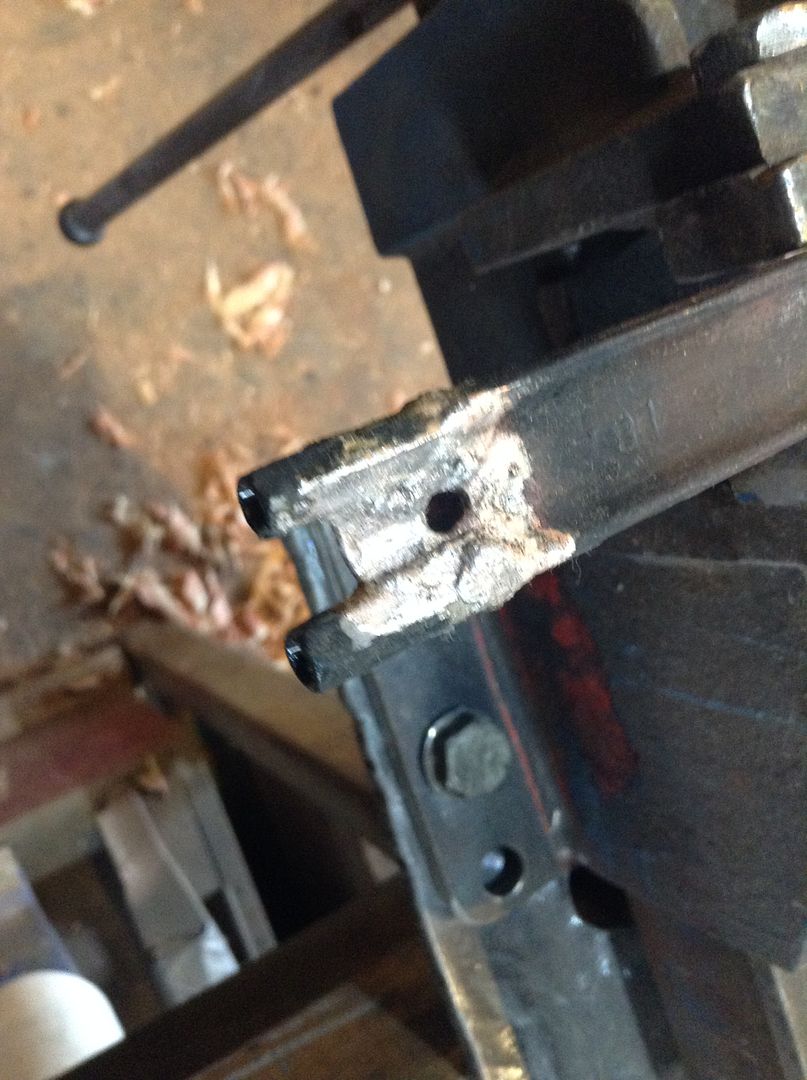
Decided to braze rather than weld. Had some difficulty holding/supporting them in the correct place, but eventually got this:
Then with the threads cleaned up and the braze cleaned up, the screws will go in. SS, BTW. Just what I had, thinking that I'll change them to Allen head later.
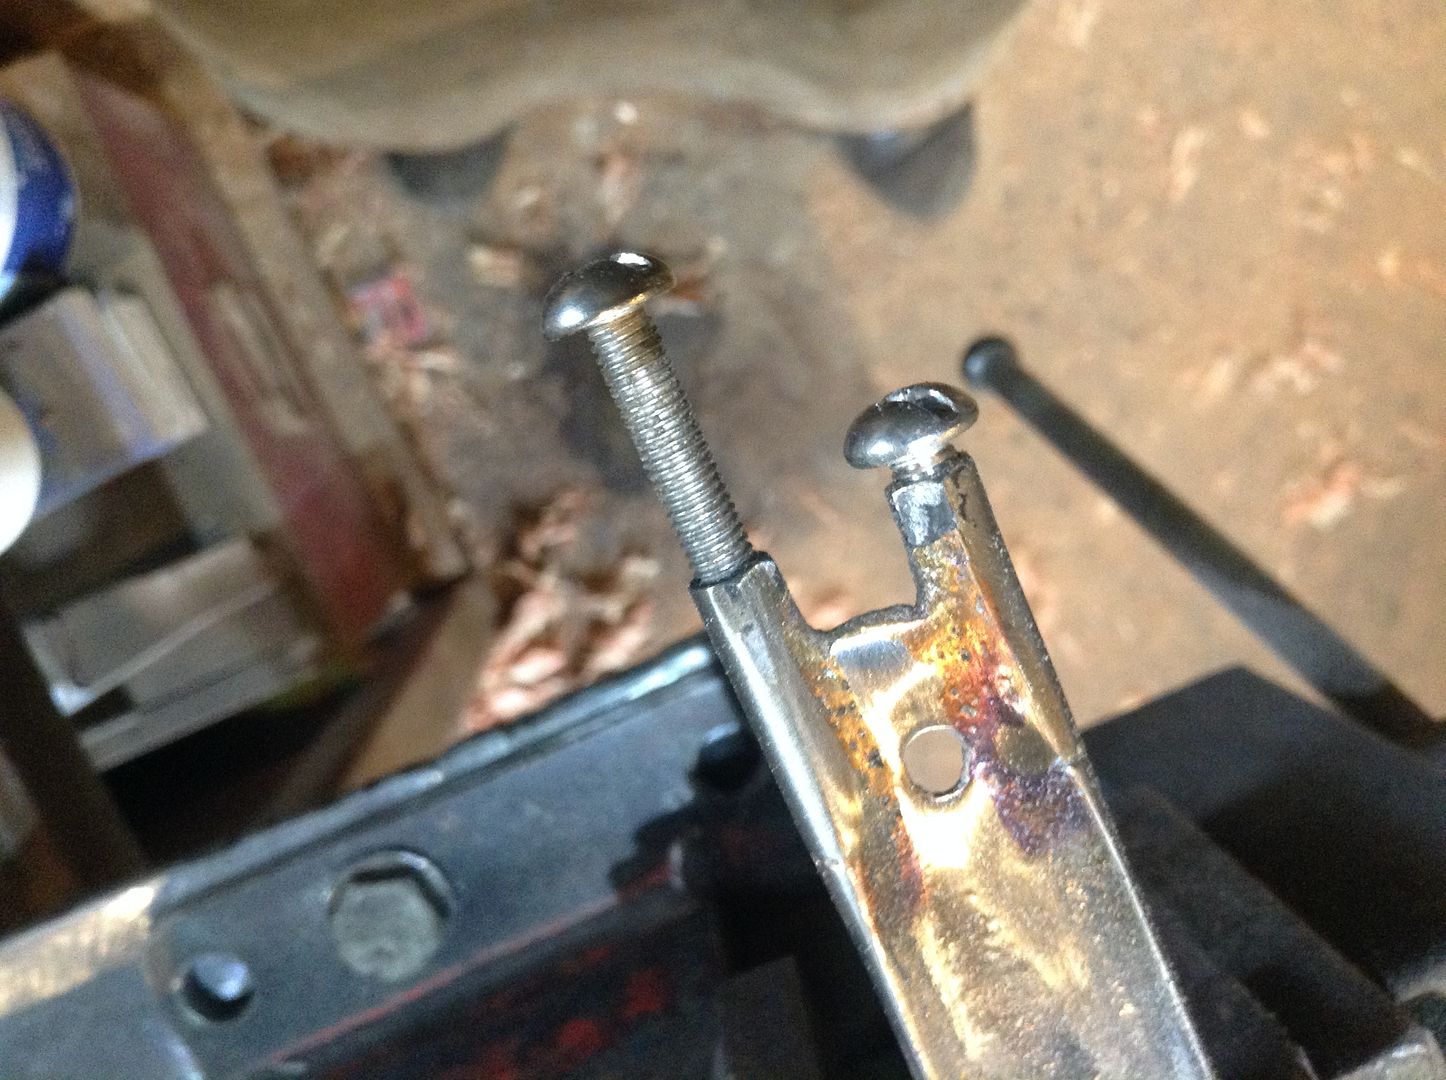

A new end plate made from SS and crudly stamped ESTWING.
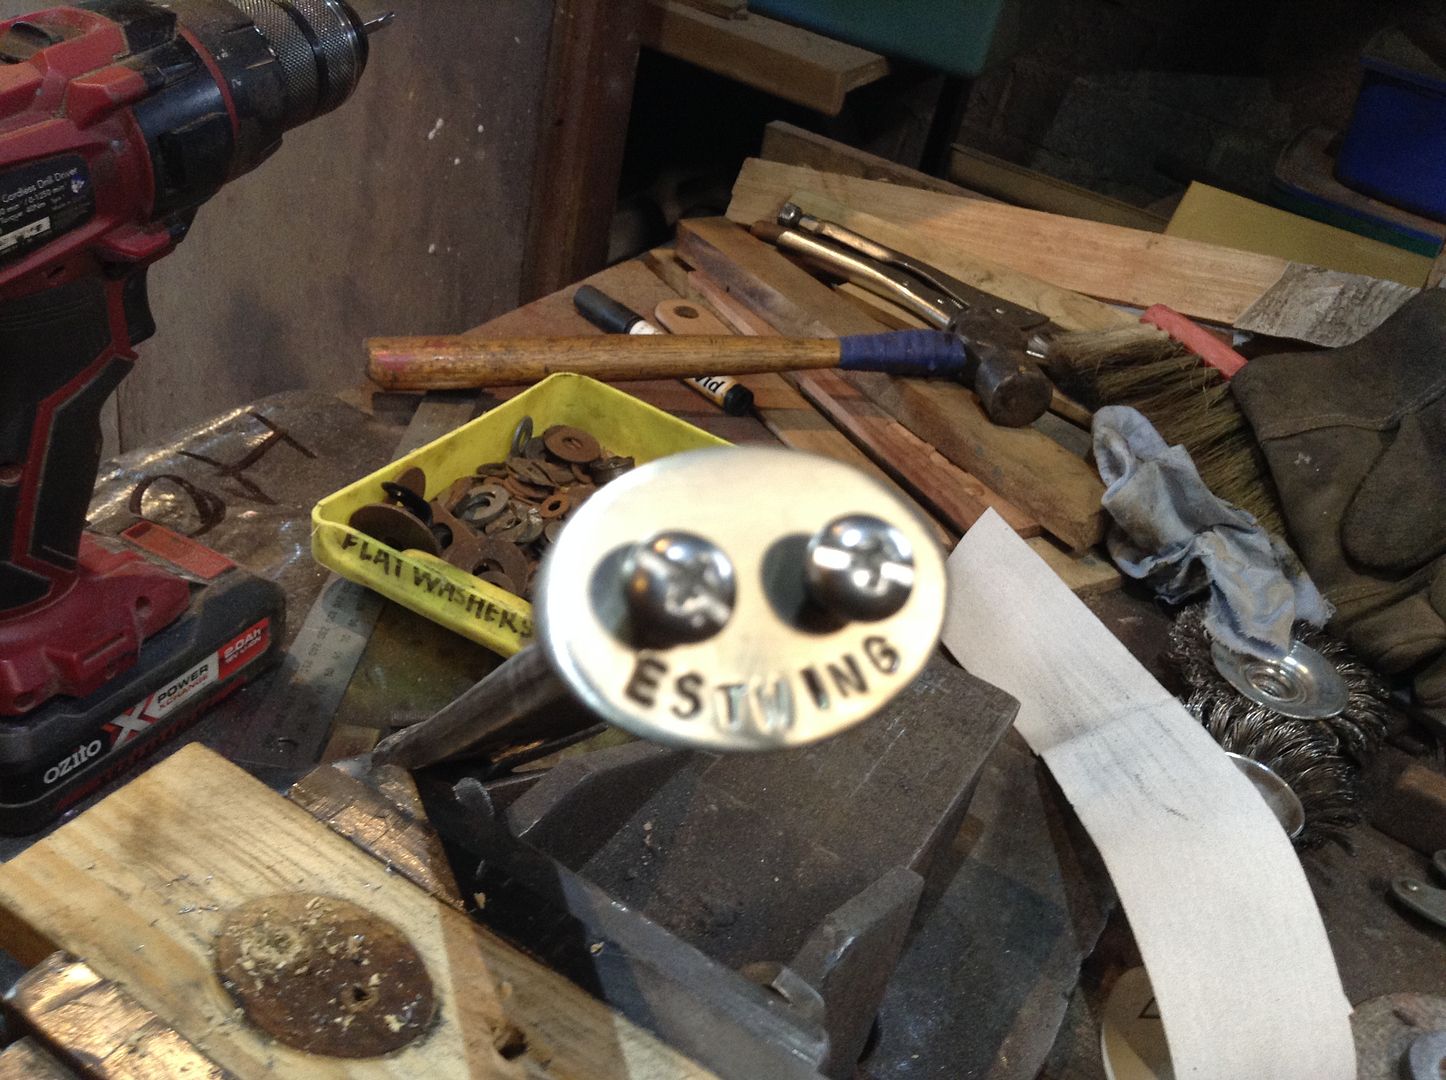
I'm ready to make the handle similarly to that which I did on mine. Stay tuned.
No comments have been posted yet...
Want to leave a comment or ask the owner a question?
Sign in or register a new account — it's free
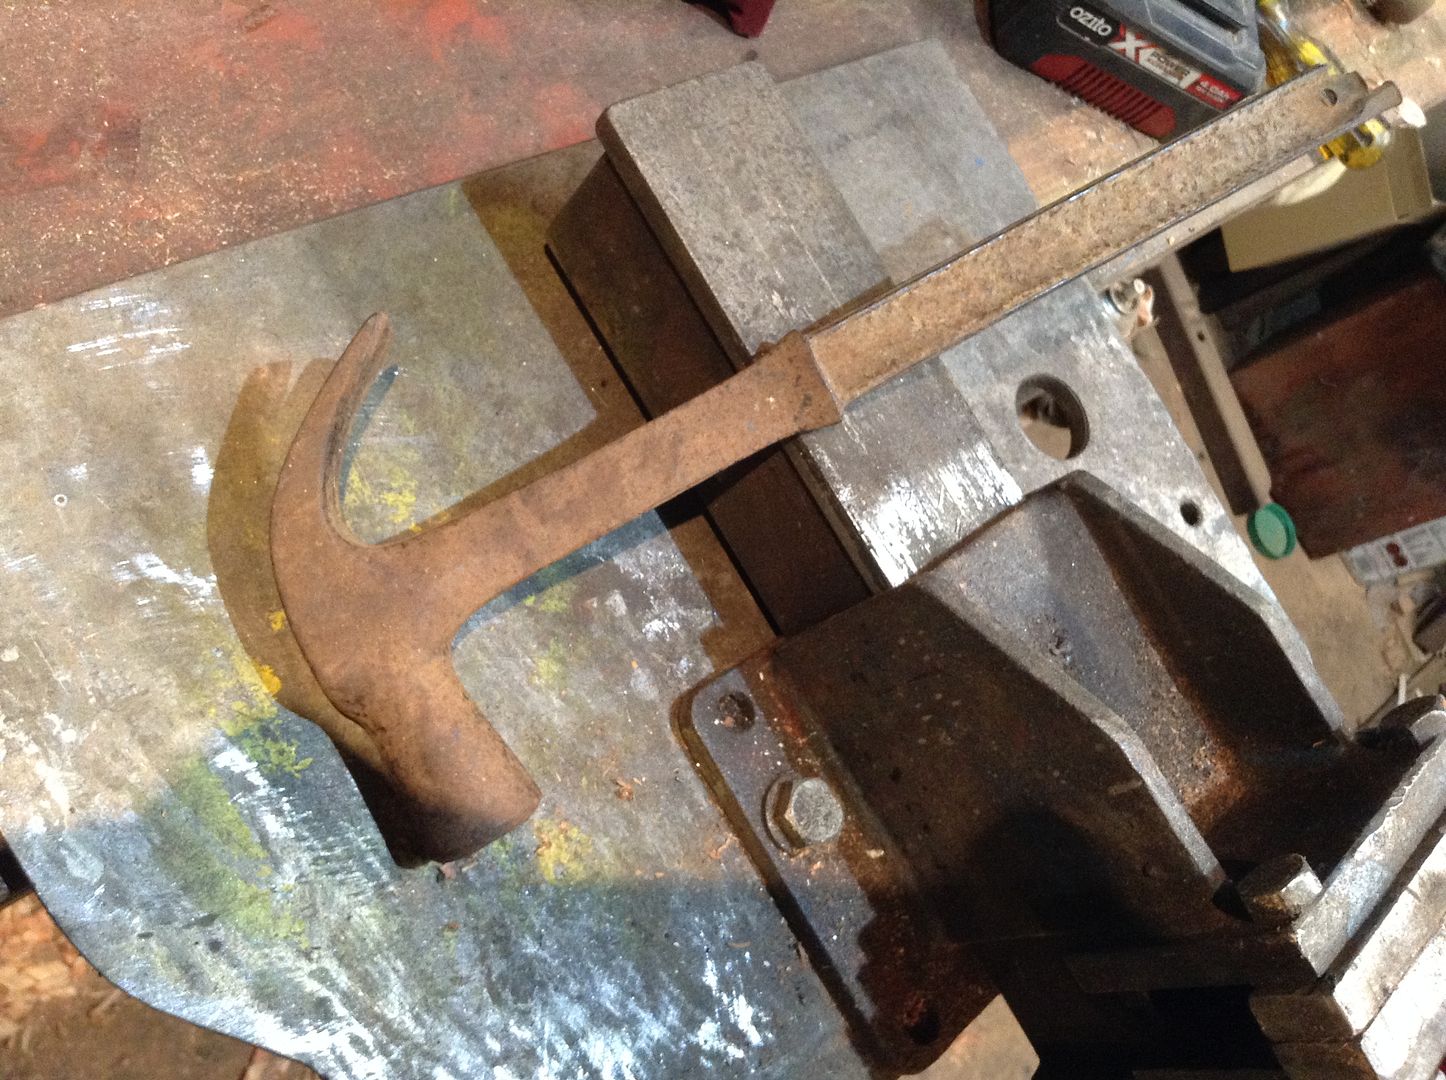
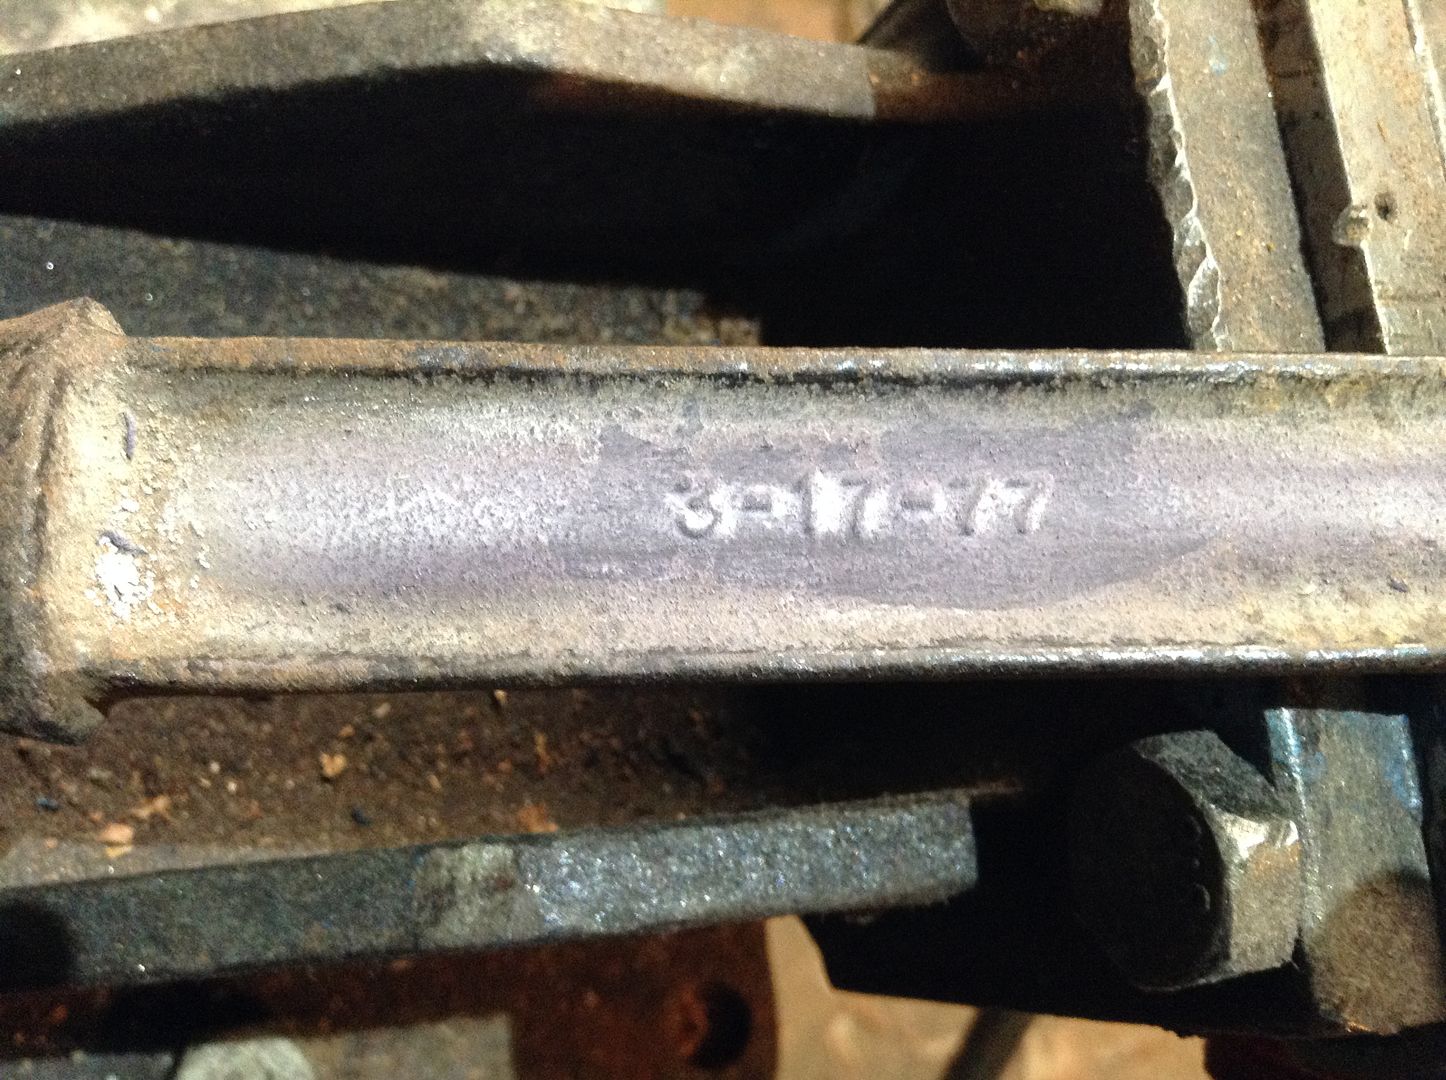
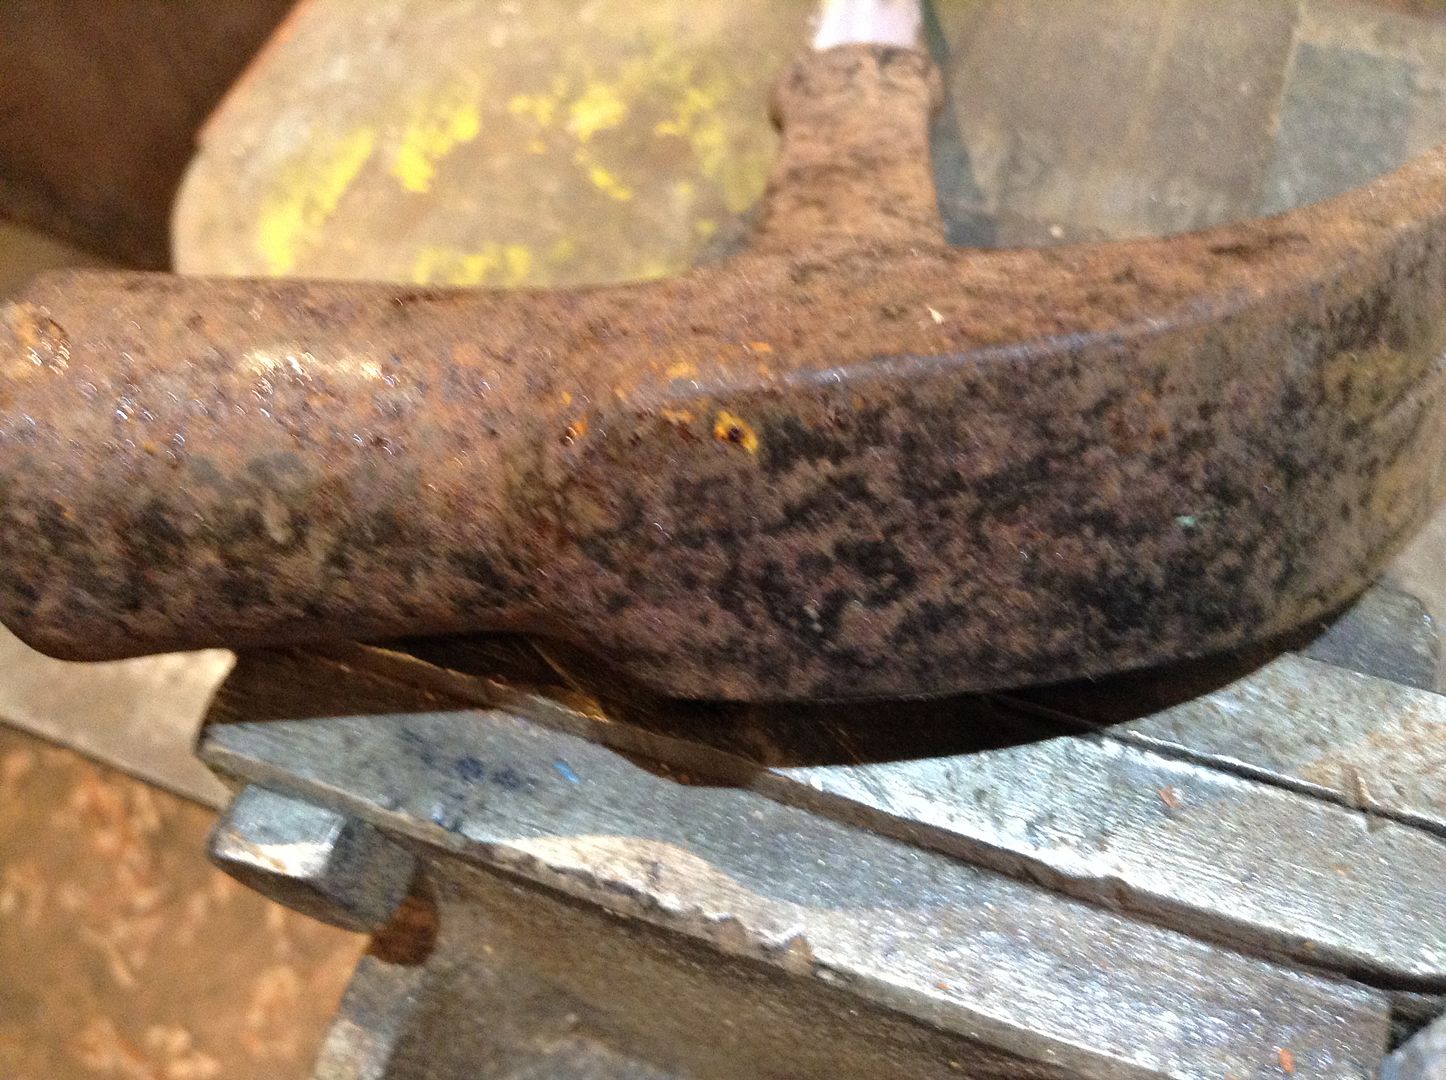
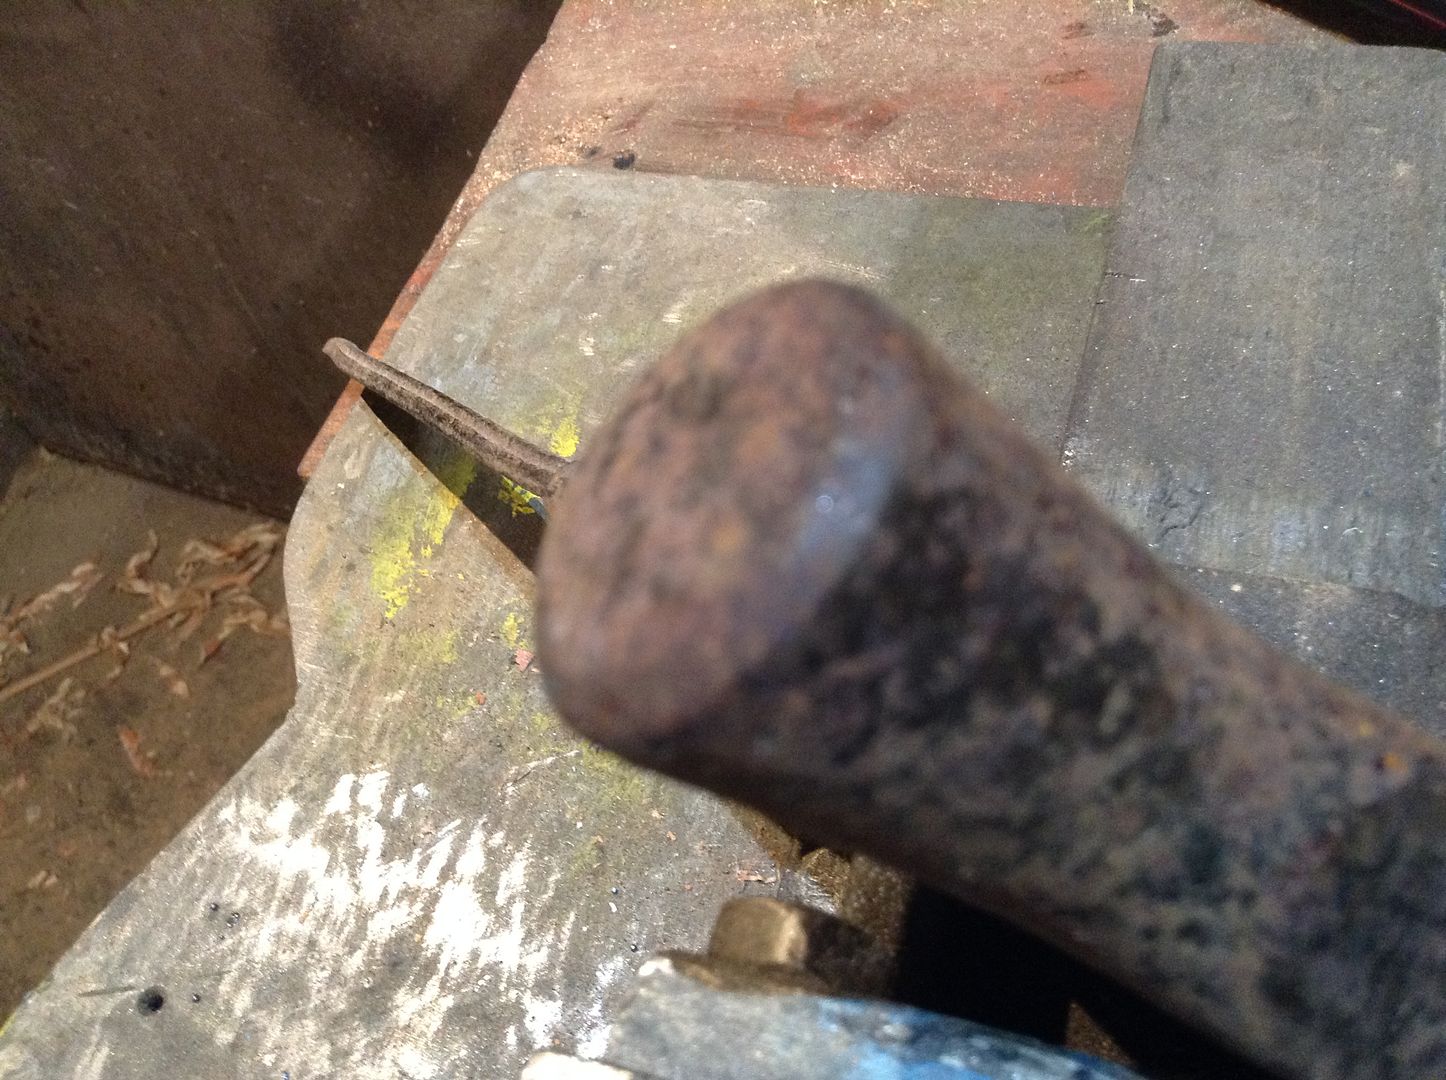
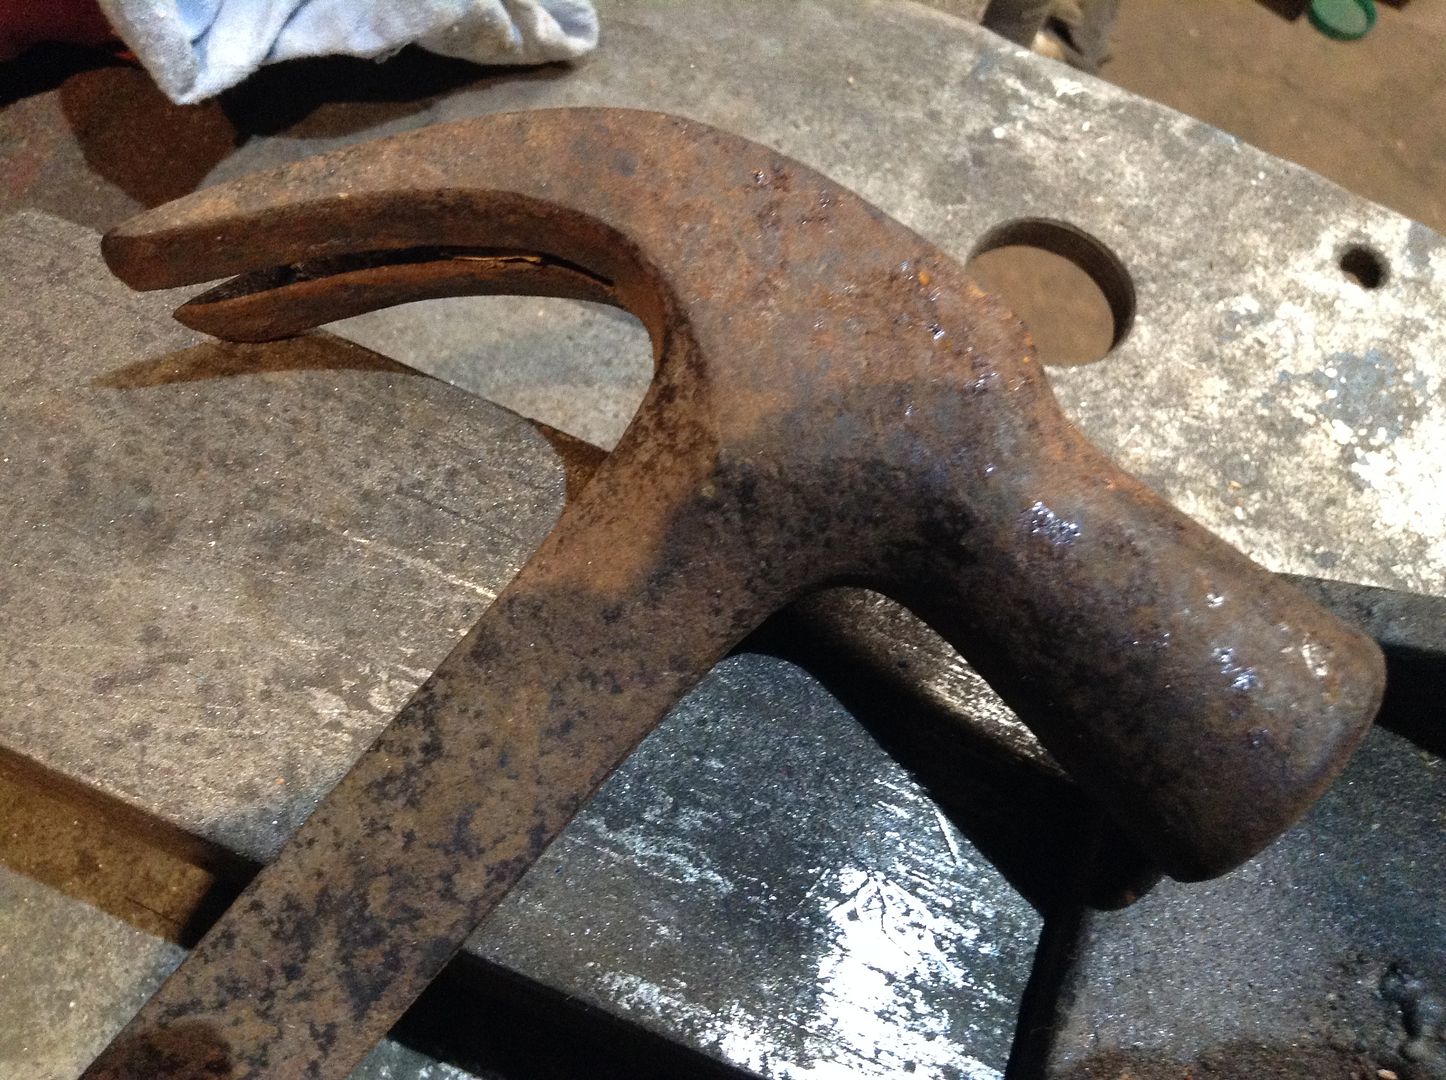
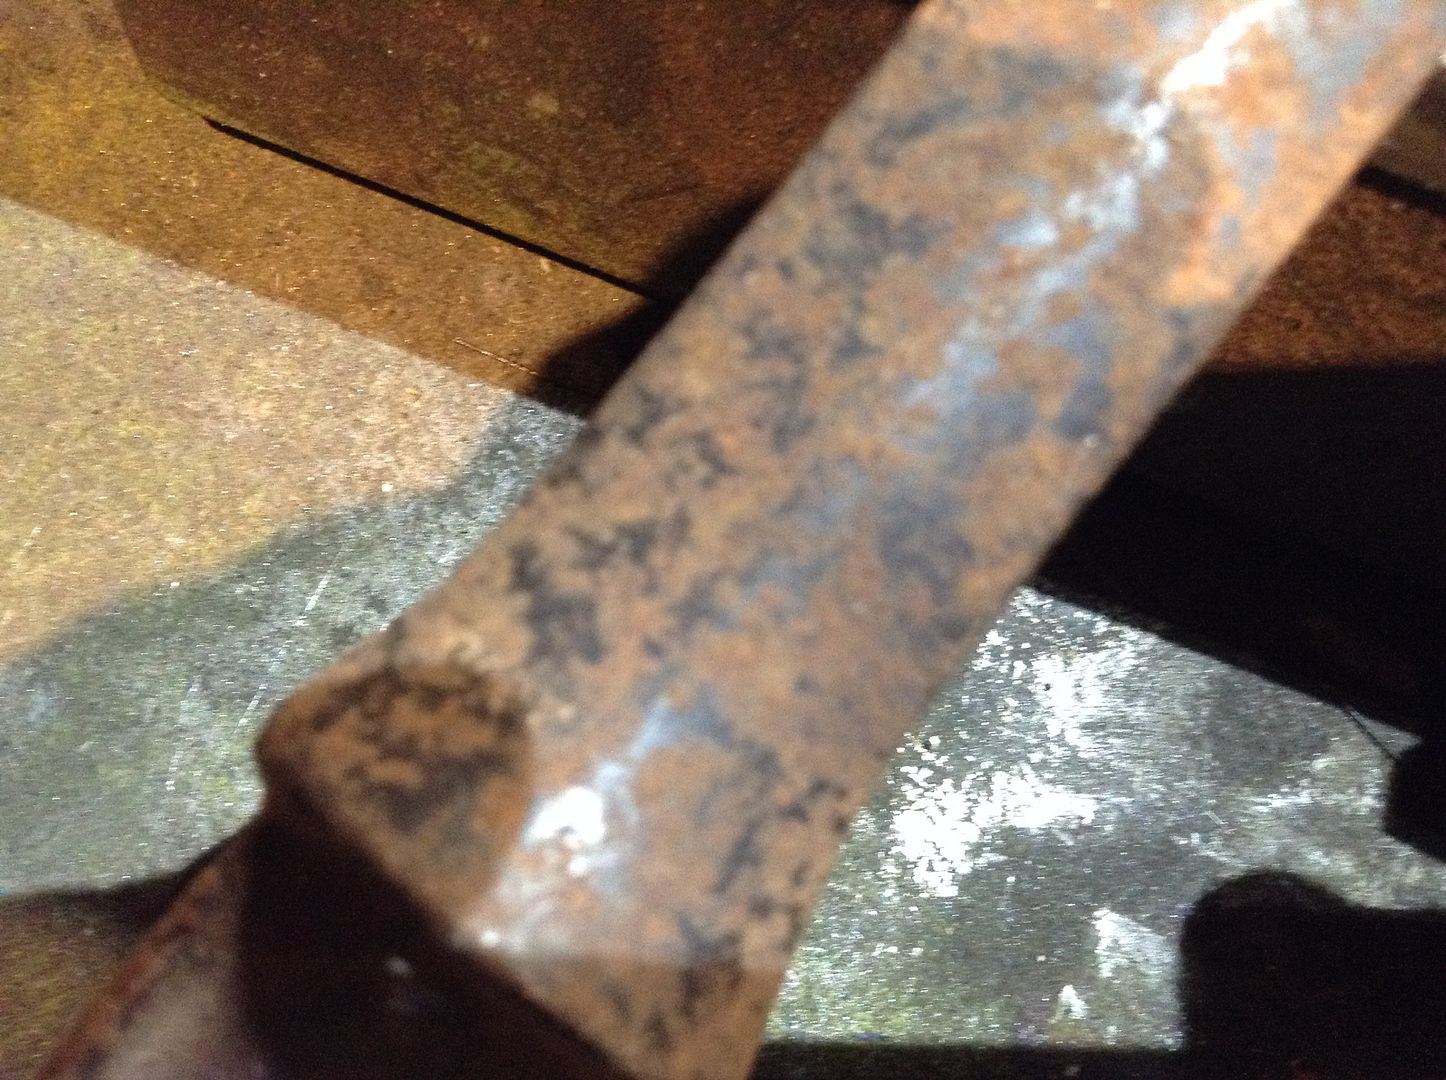
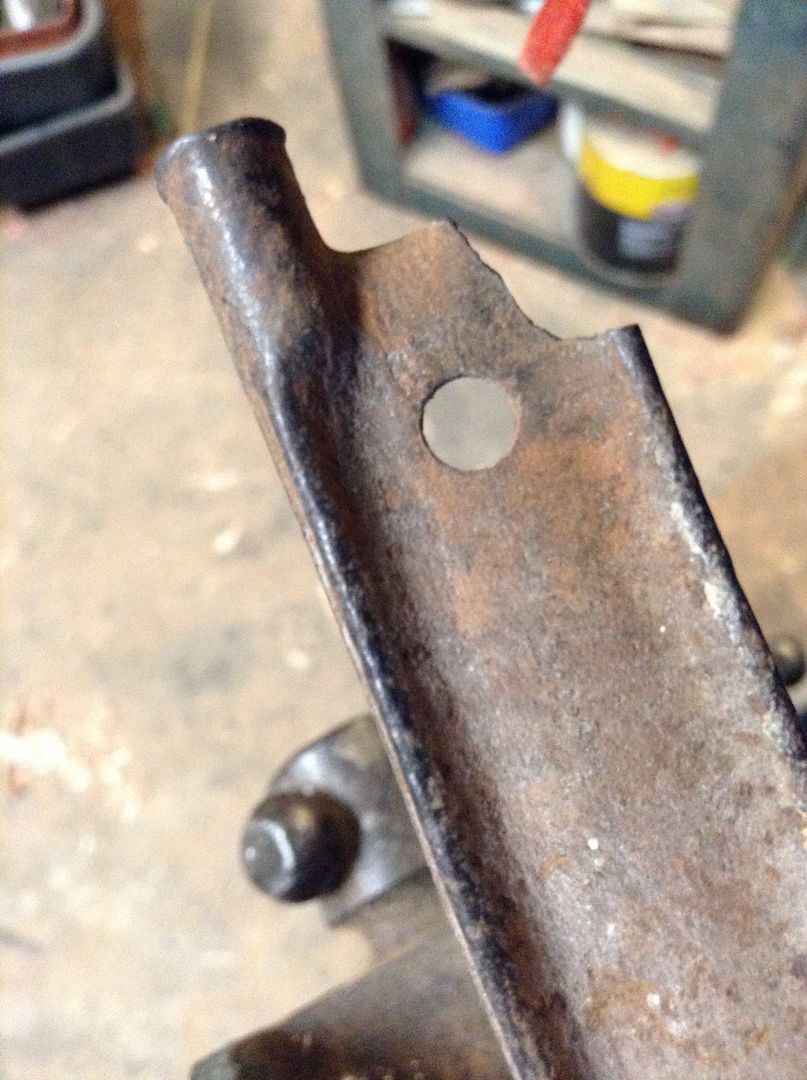
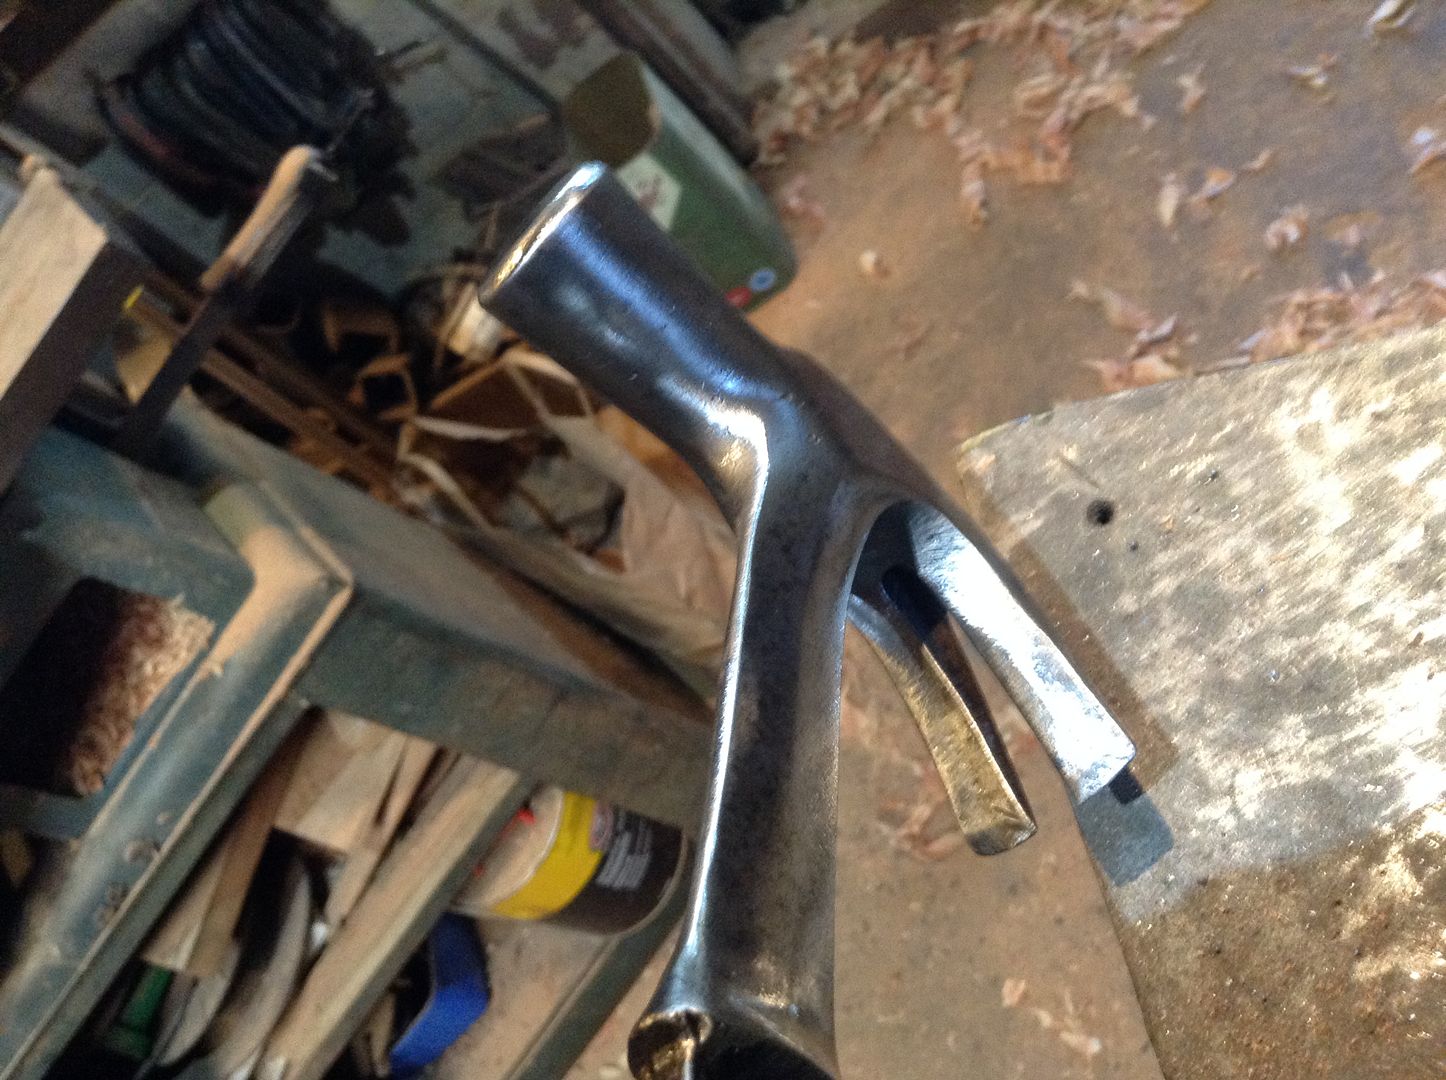
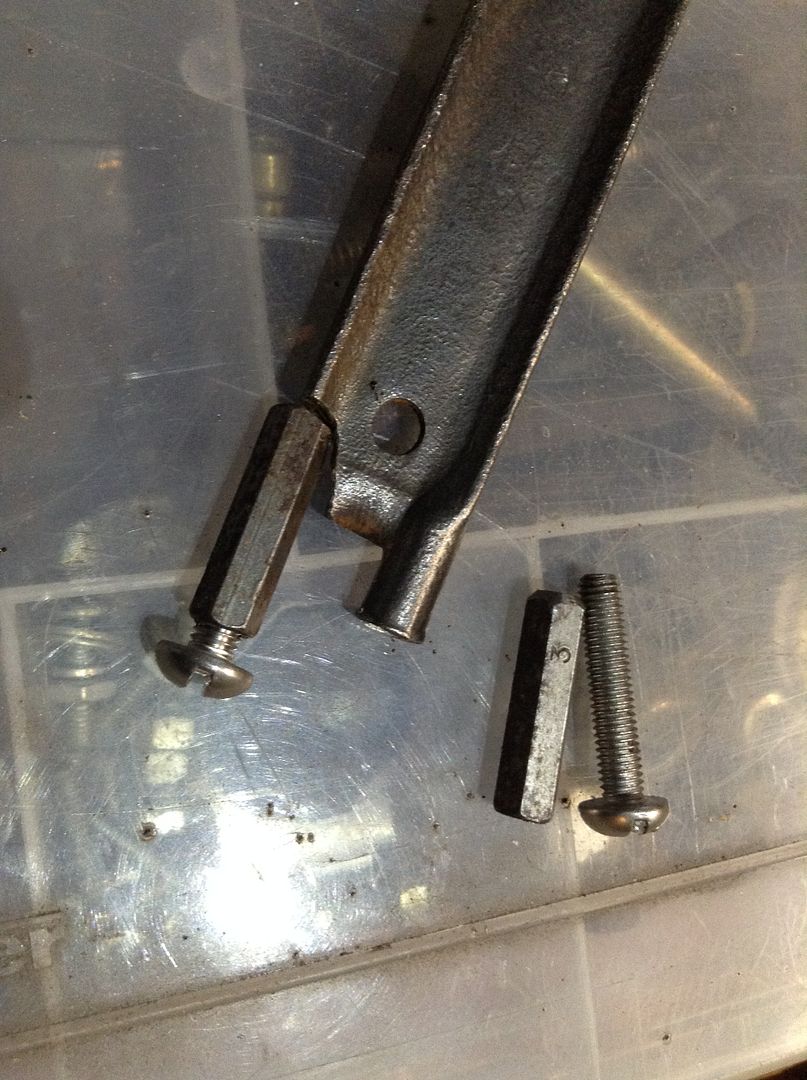
The end plate is MIA and one of the riveted prongs has been broken. But I have a plan! Different to the previous one so stay tuned!
No comments have been posted yet...
Want to leave a comment or ask the owner a question?
Sign in or register a new account — it's free

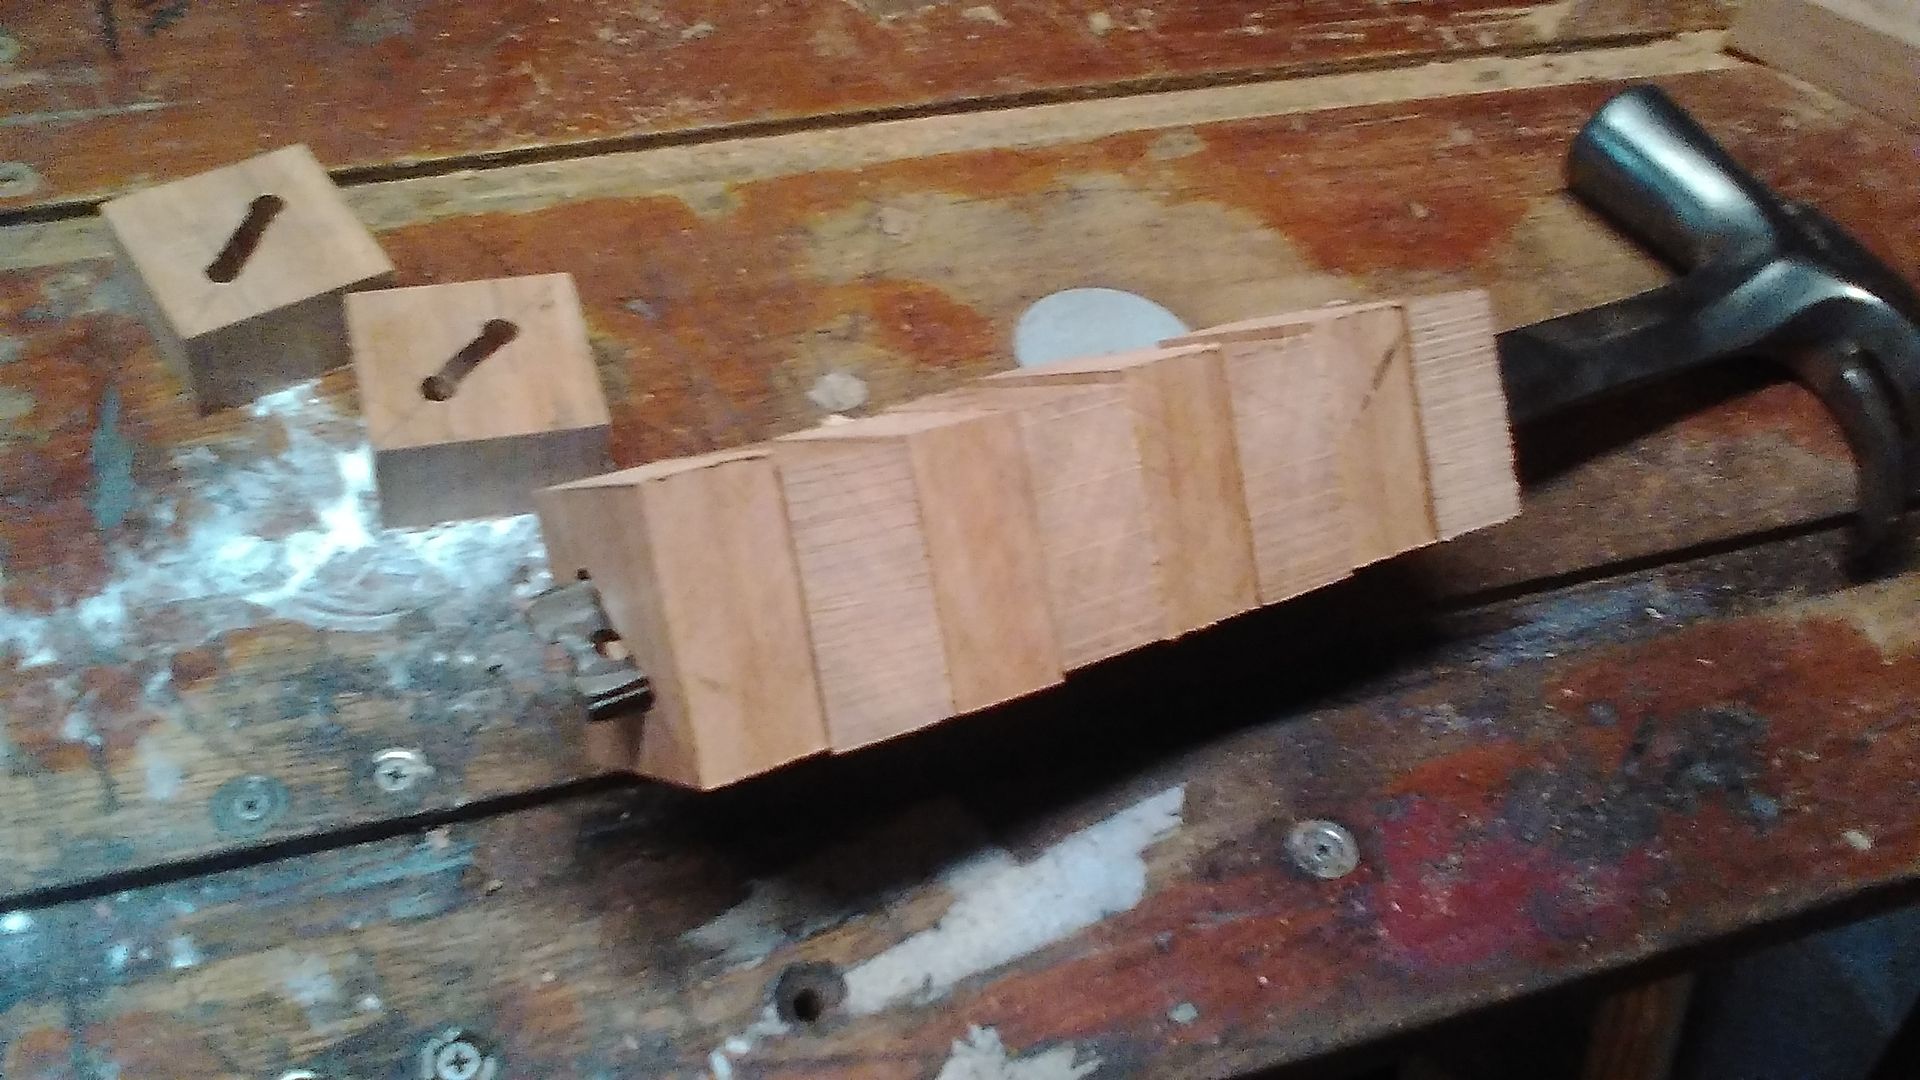
The handle looked very sad and so I hacked it off. 2 layers of racket tape and a 'recent' silicone taping.
A piece of Turpentine from a tree that had fallen in the back yard that I'd cut some timber from a year or two ago. Very dry.
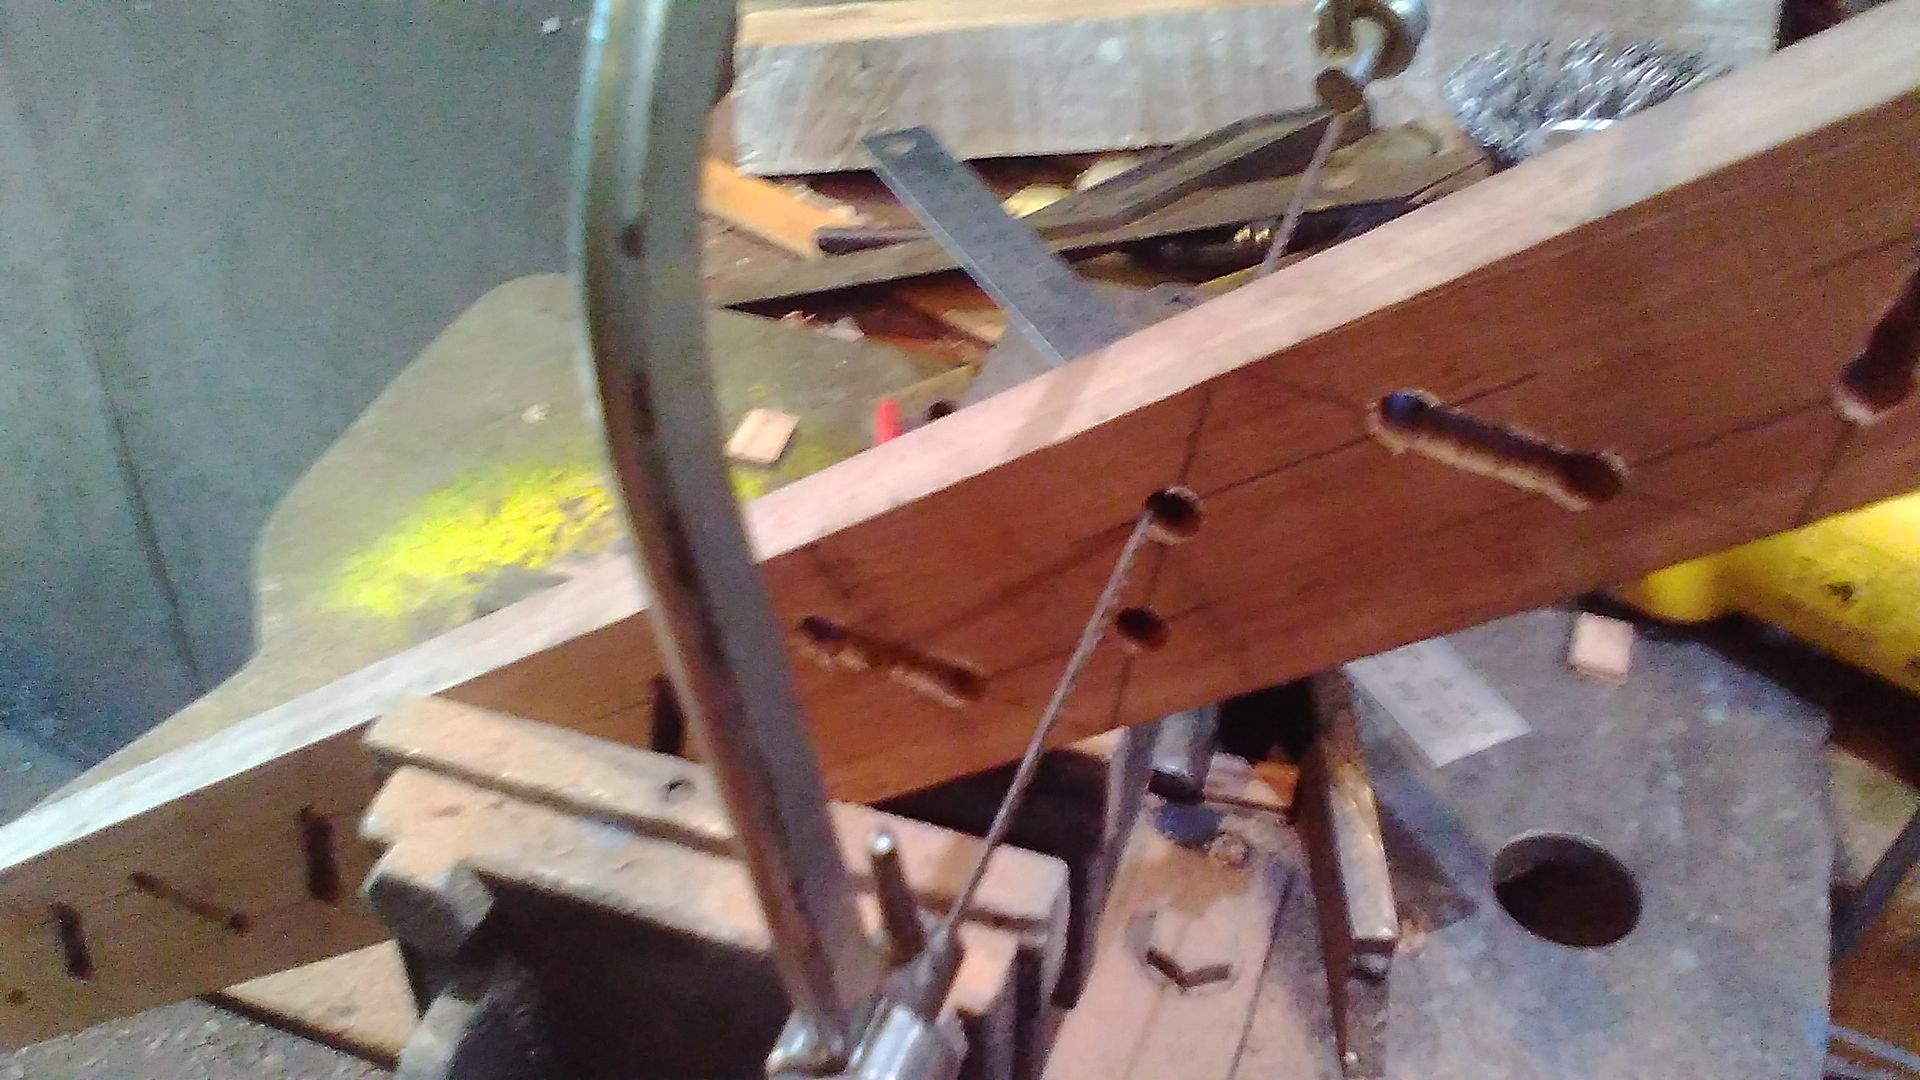
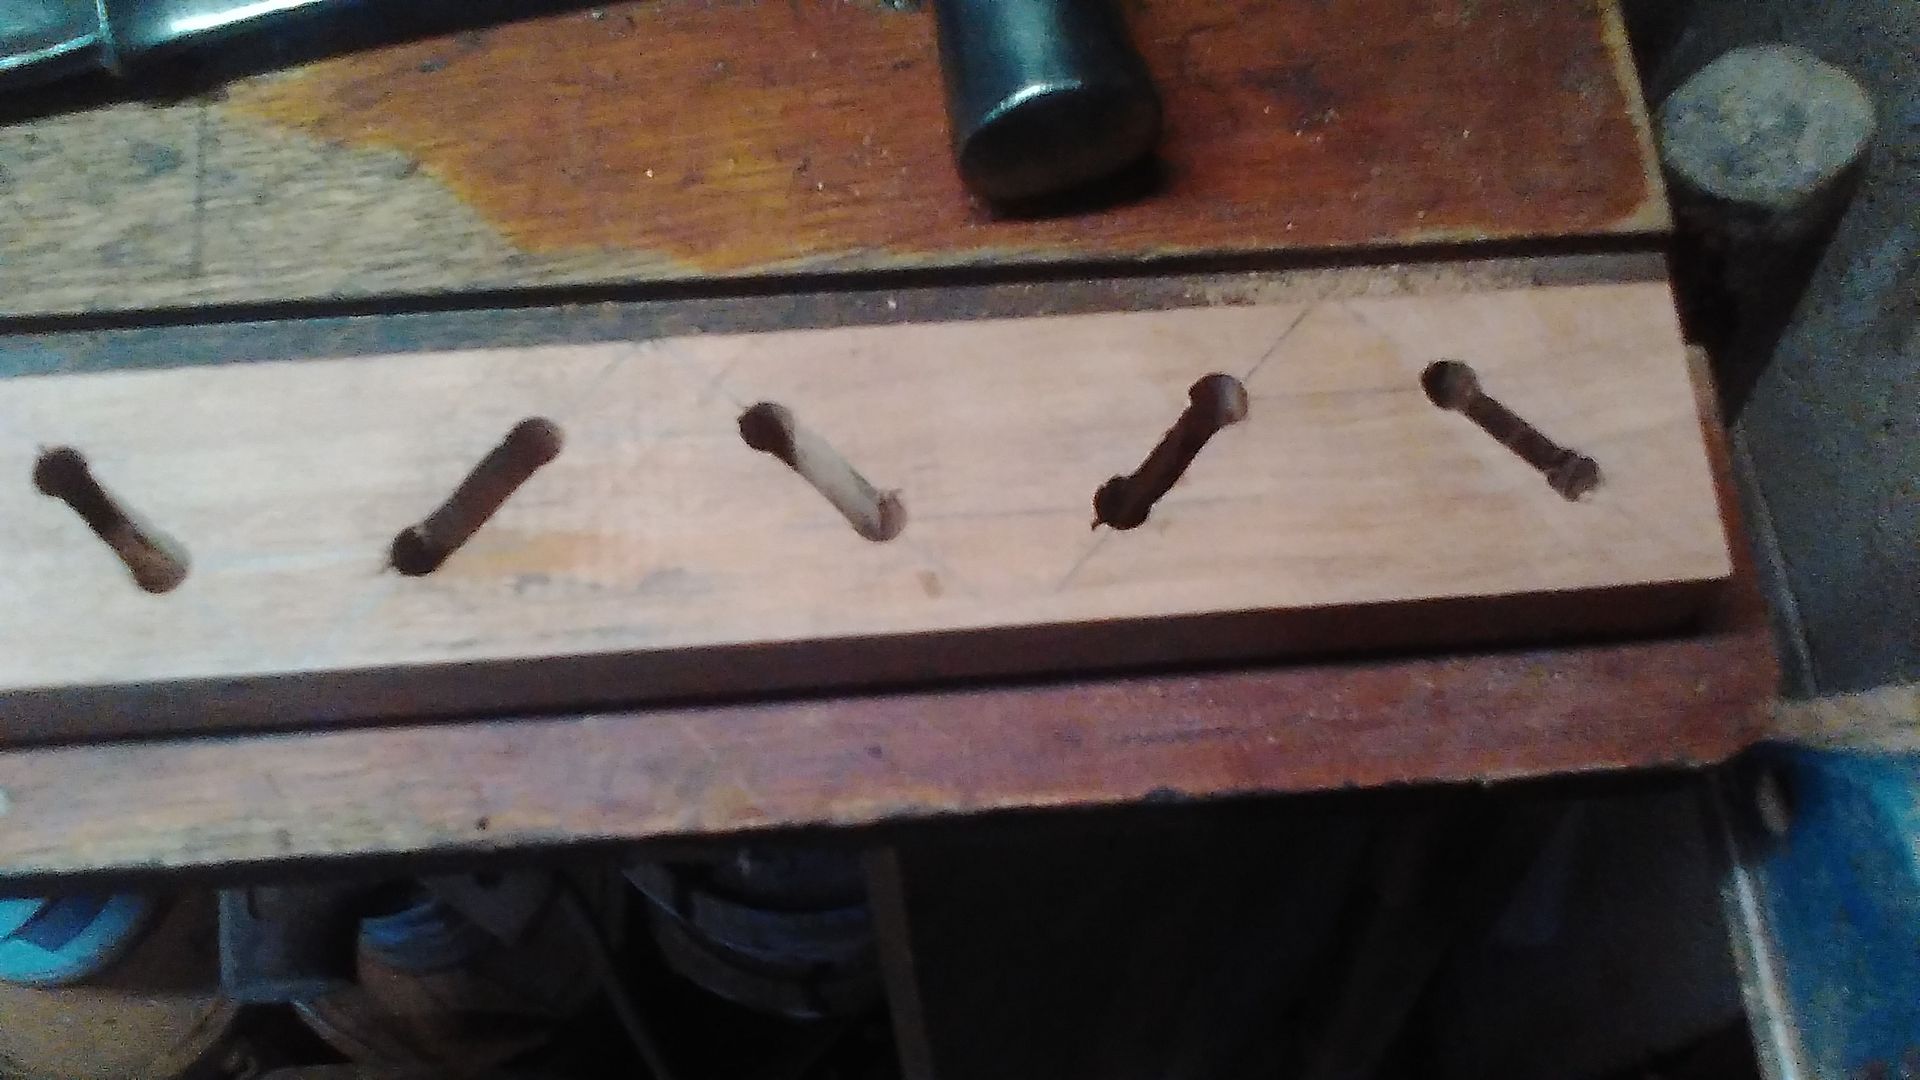
Marked out the slot on the 45deg alternately so the grain would cross with each piece. Drilled and cut out the slots.
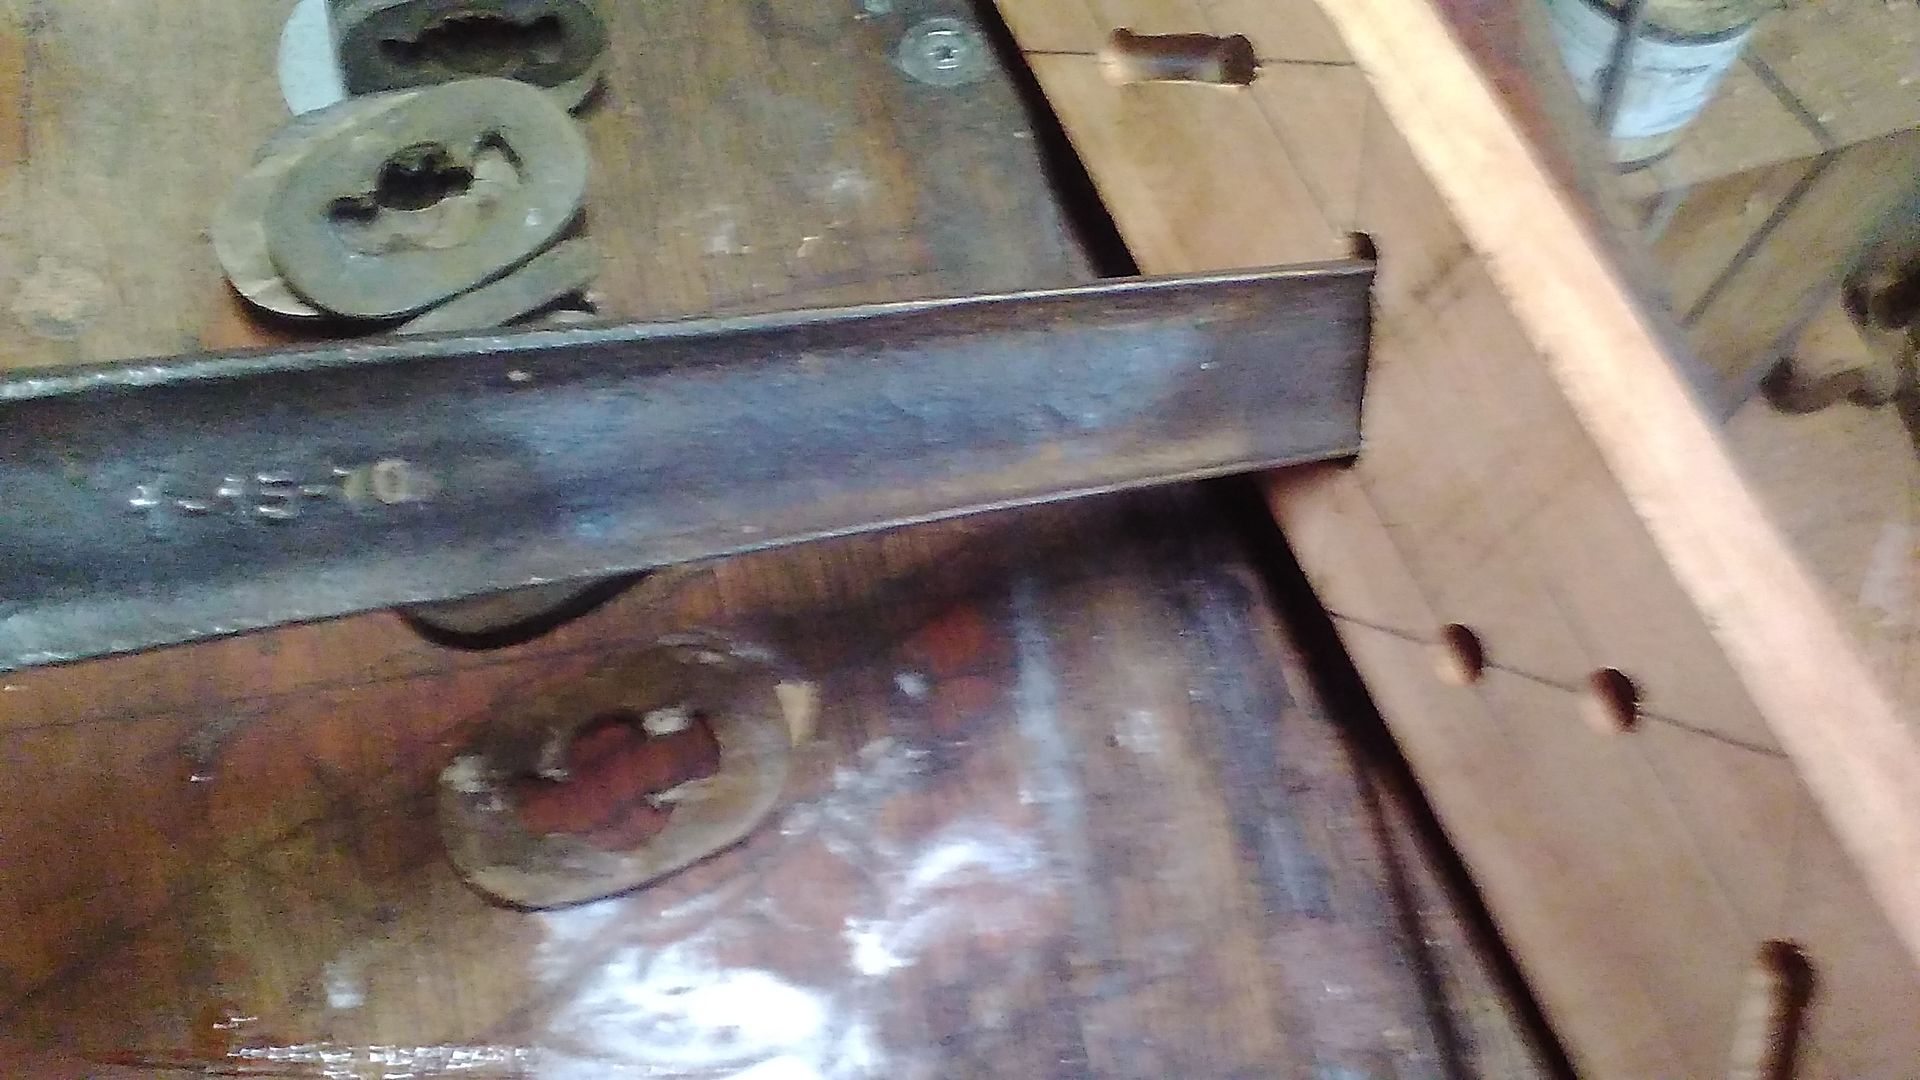
Checking the fit.
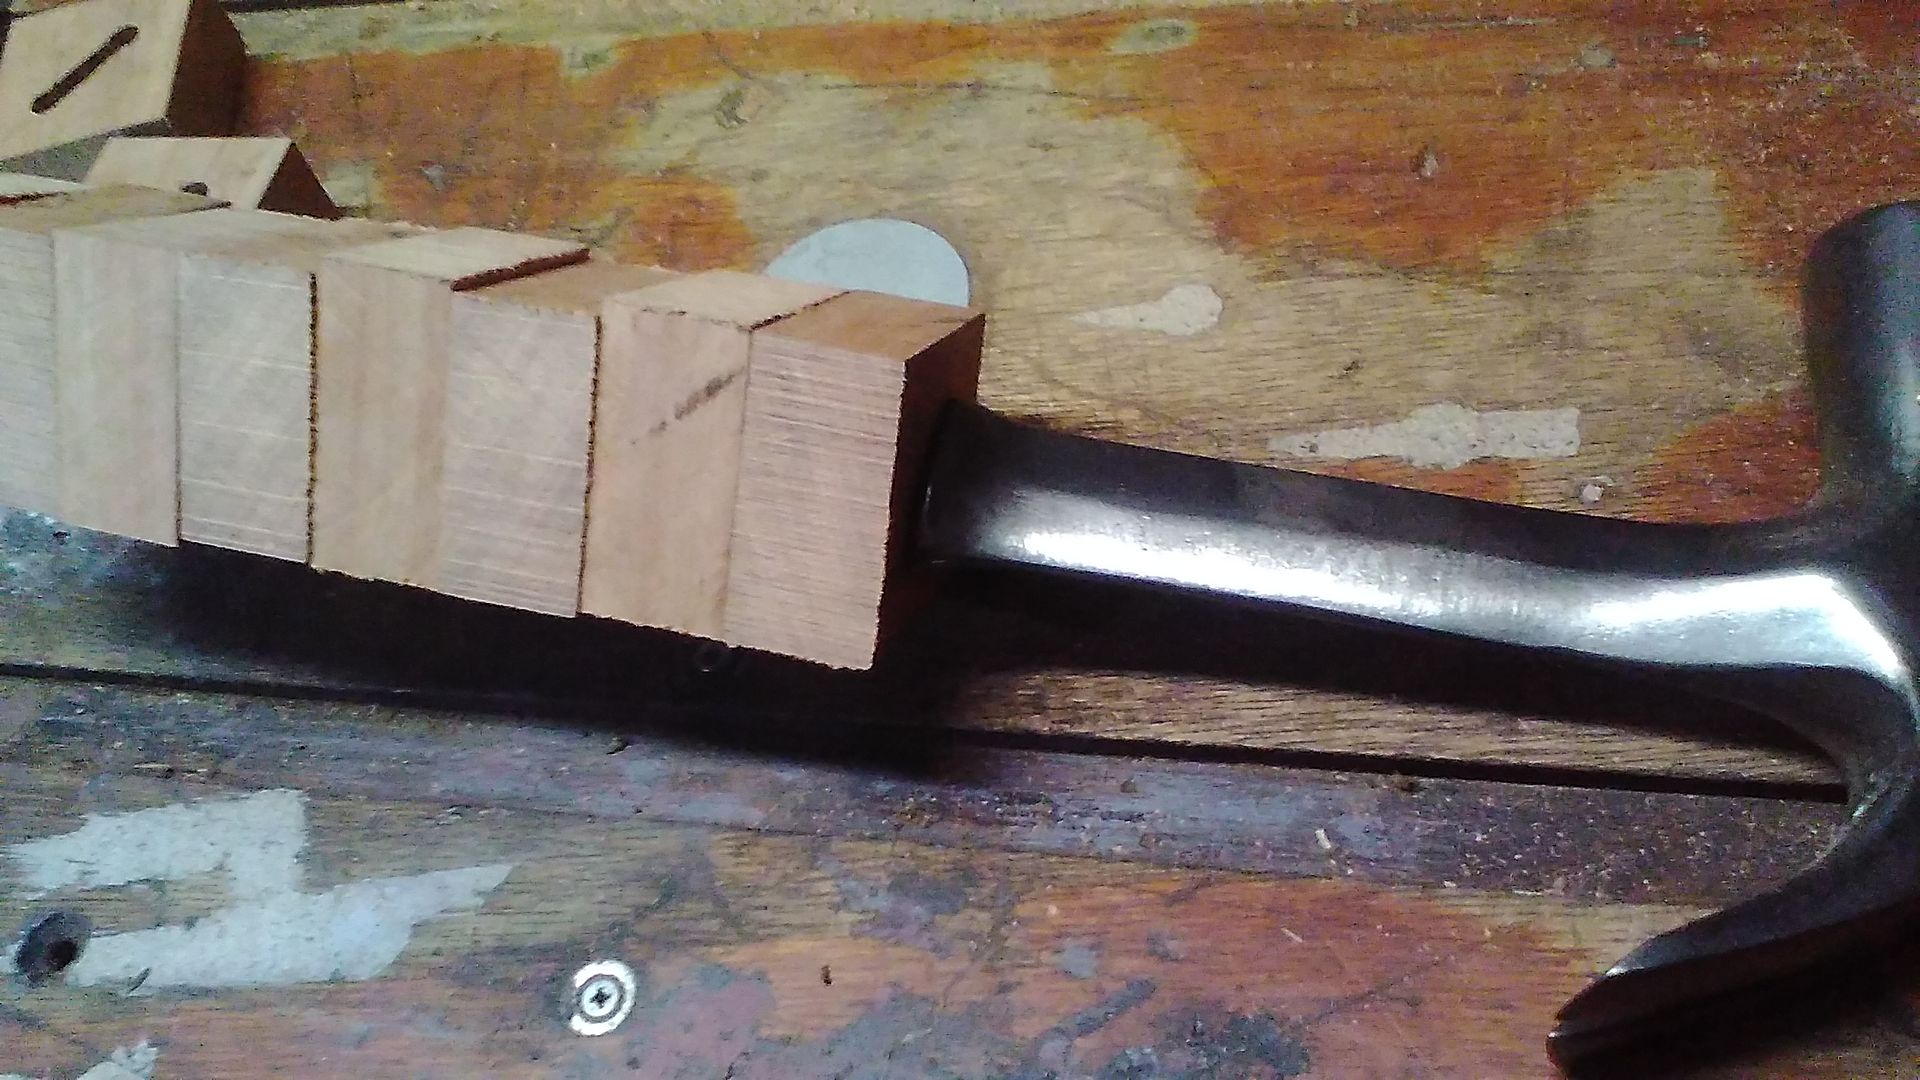
A dry assembly to check.
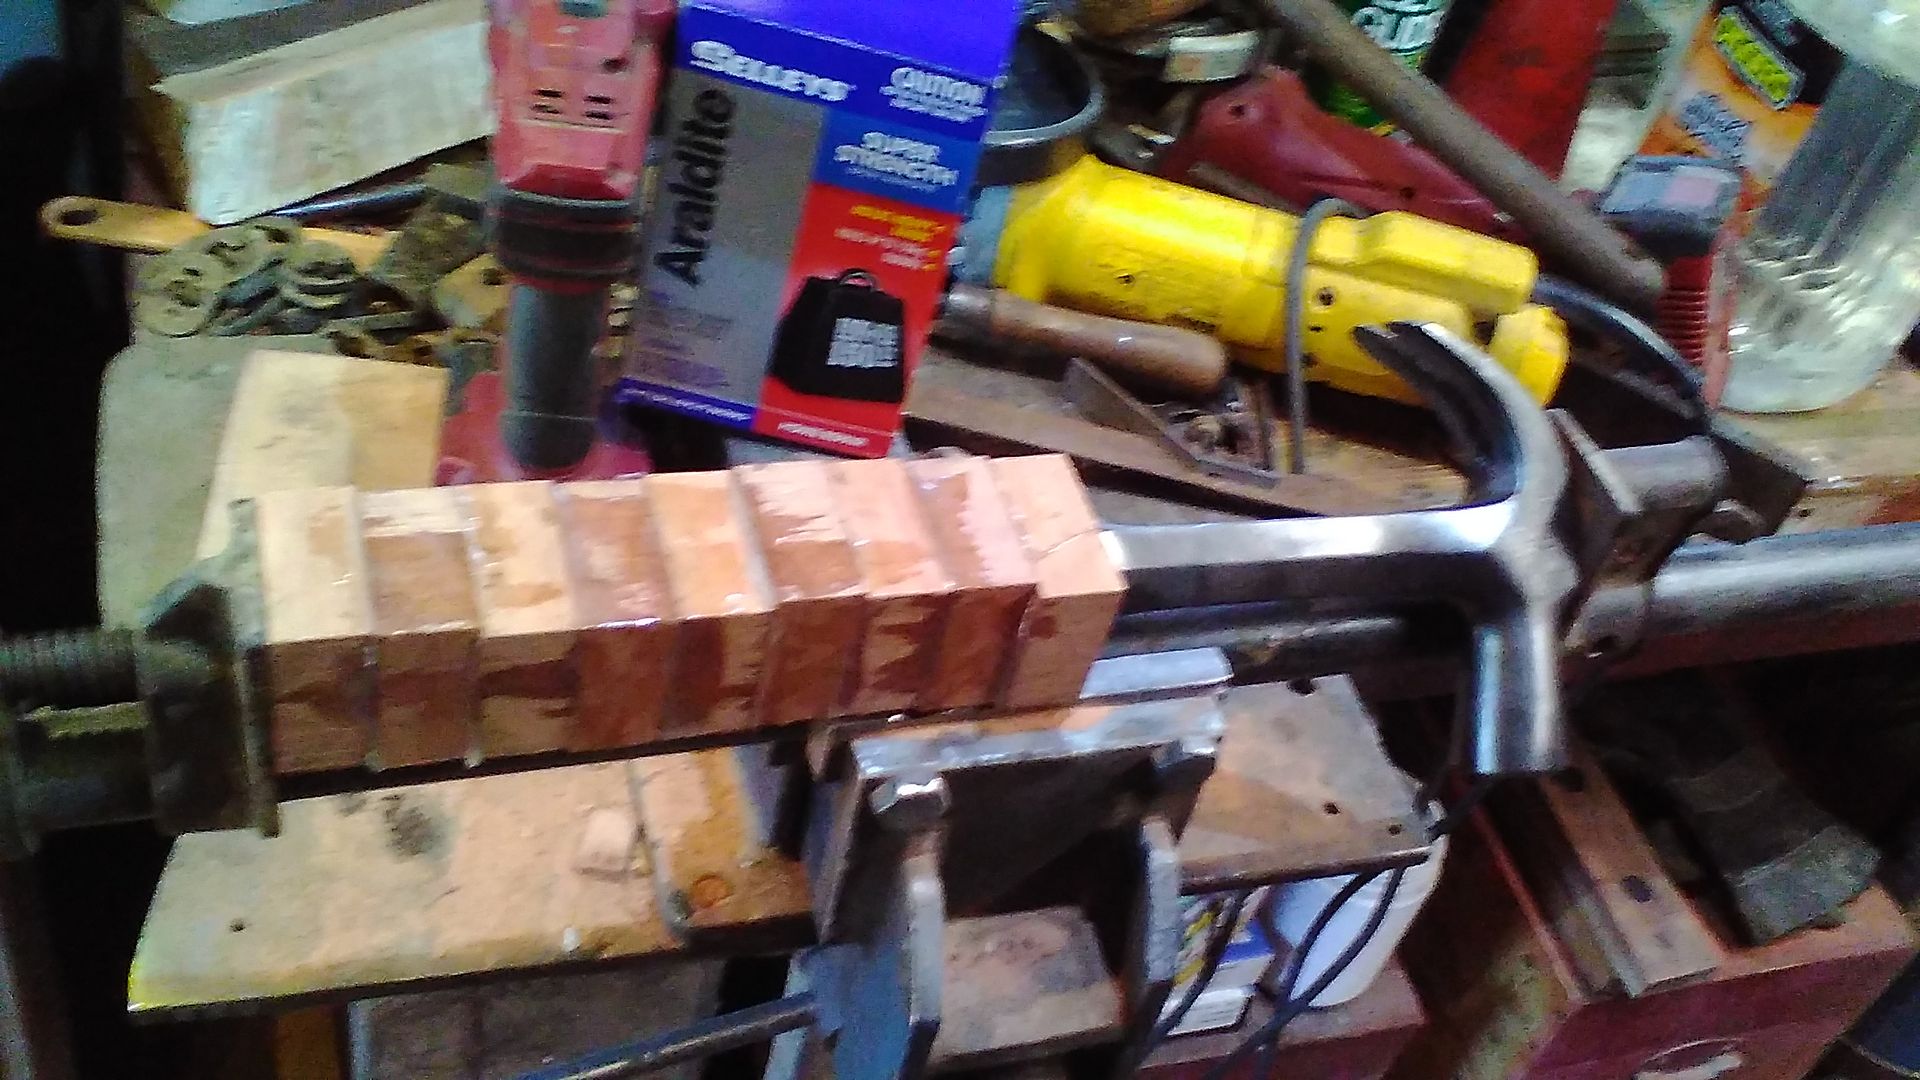
Glued and clamped in place. Used an Epoxy glue.
Starting the shaping.

And roughing closer to the correct shape.
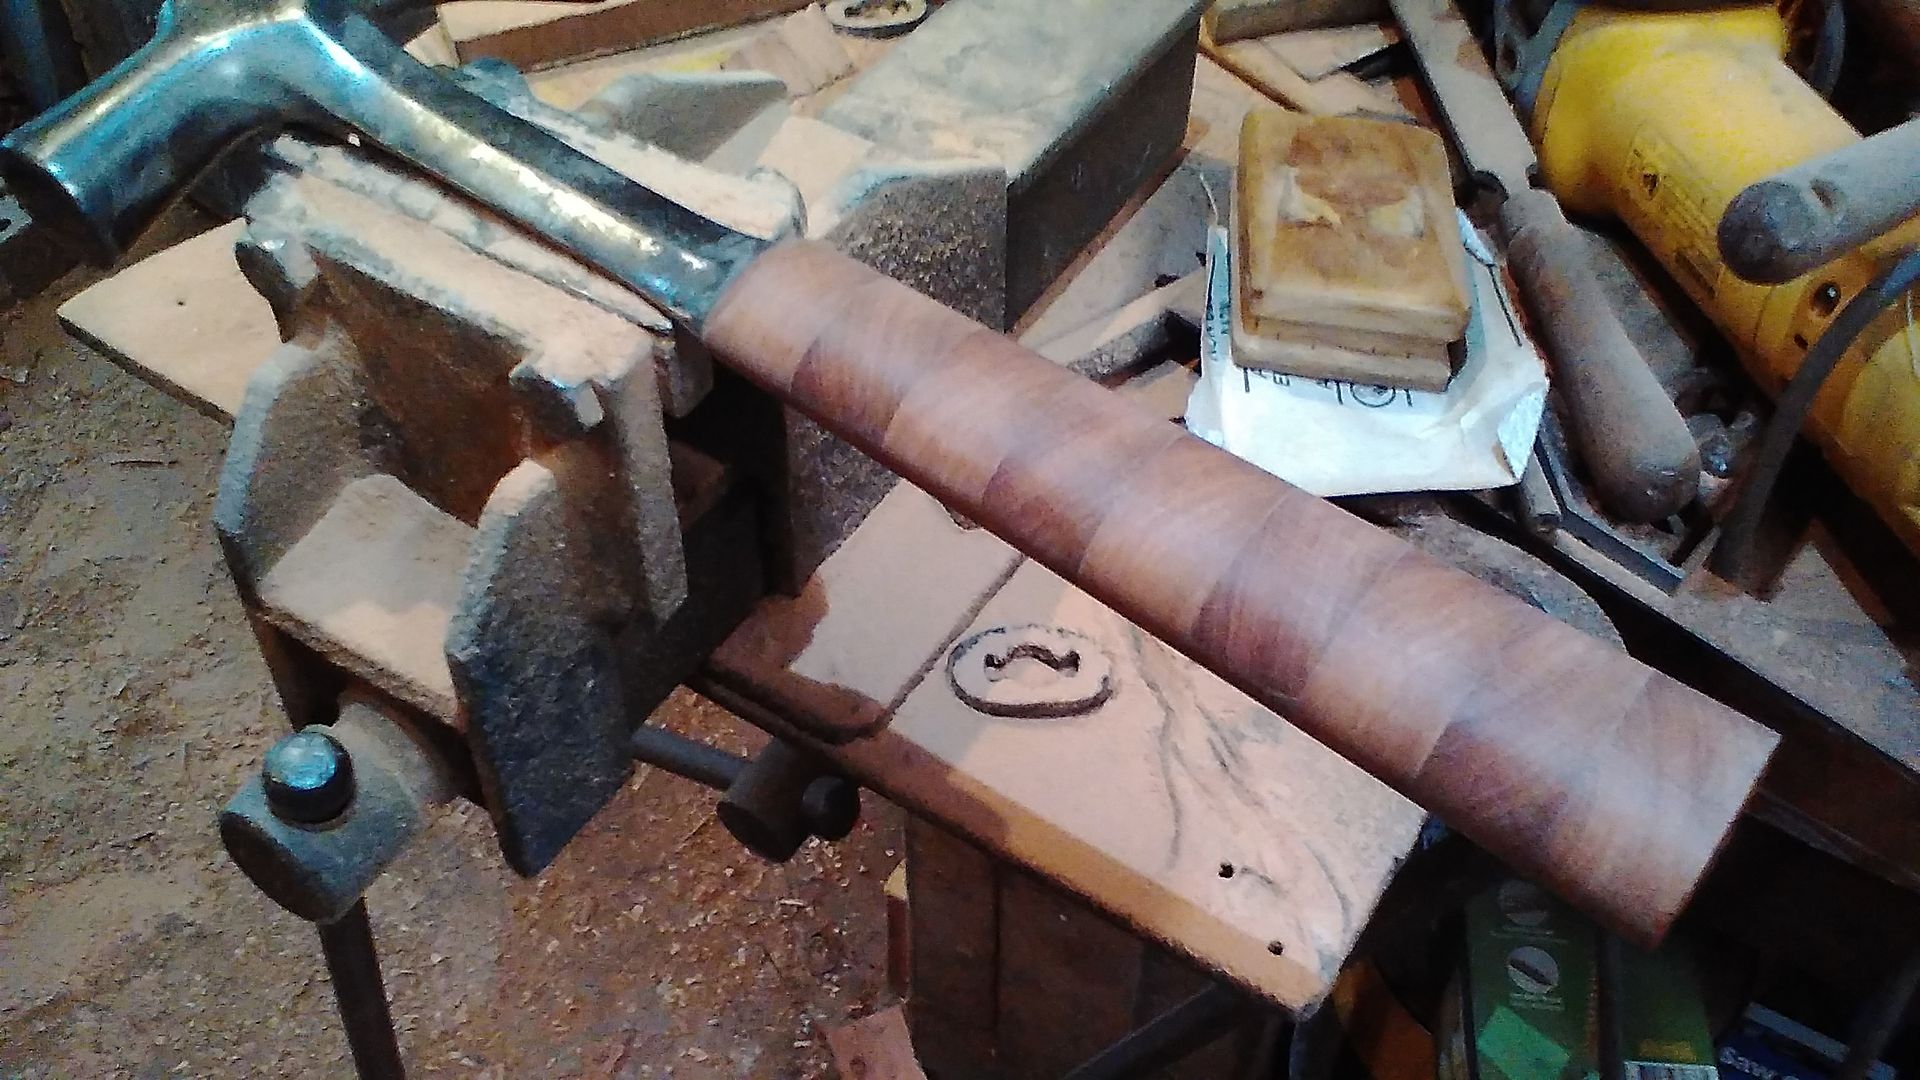
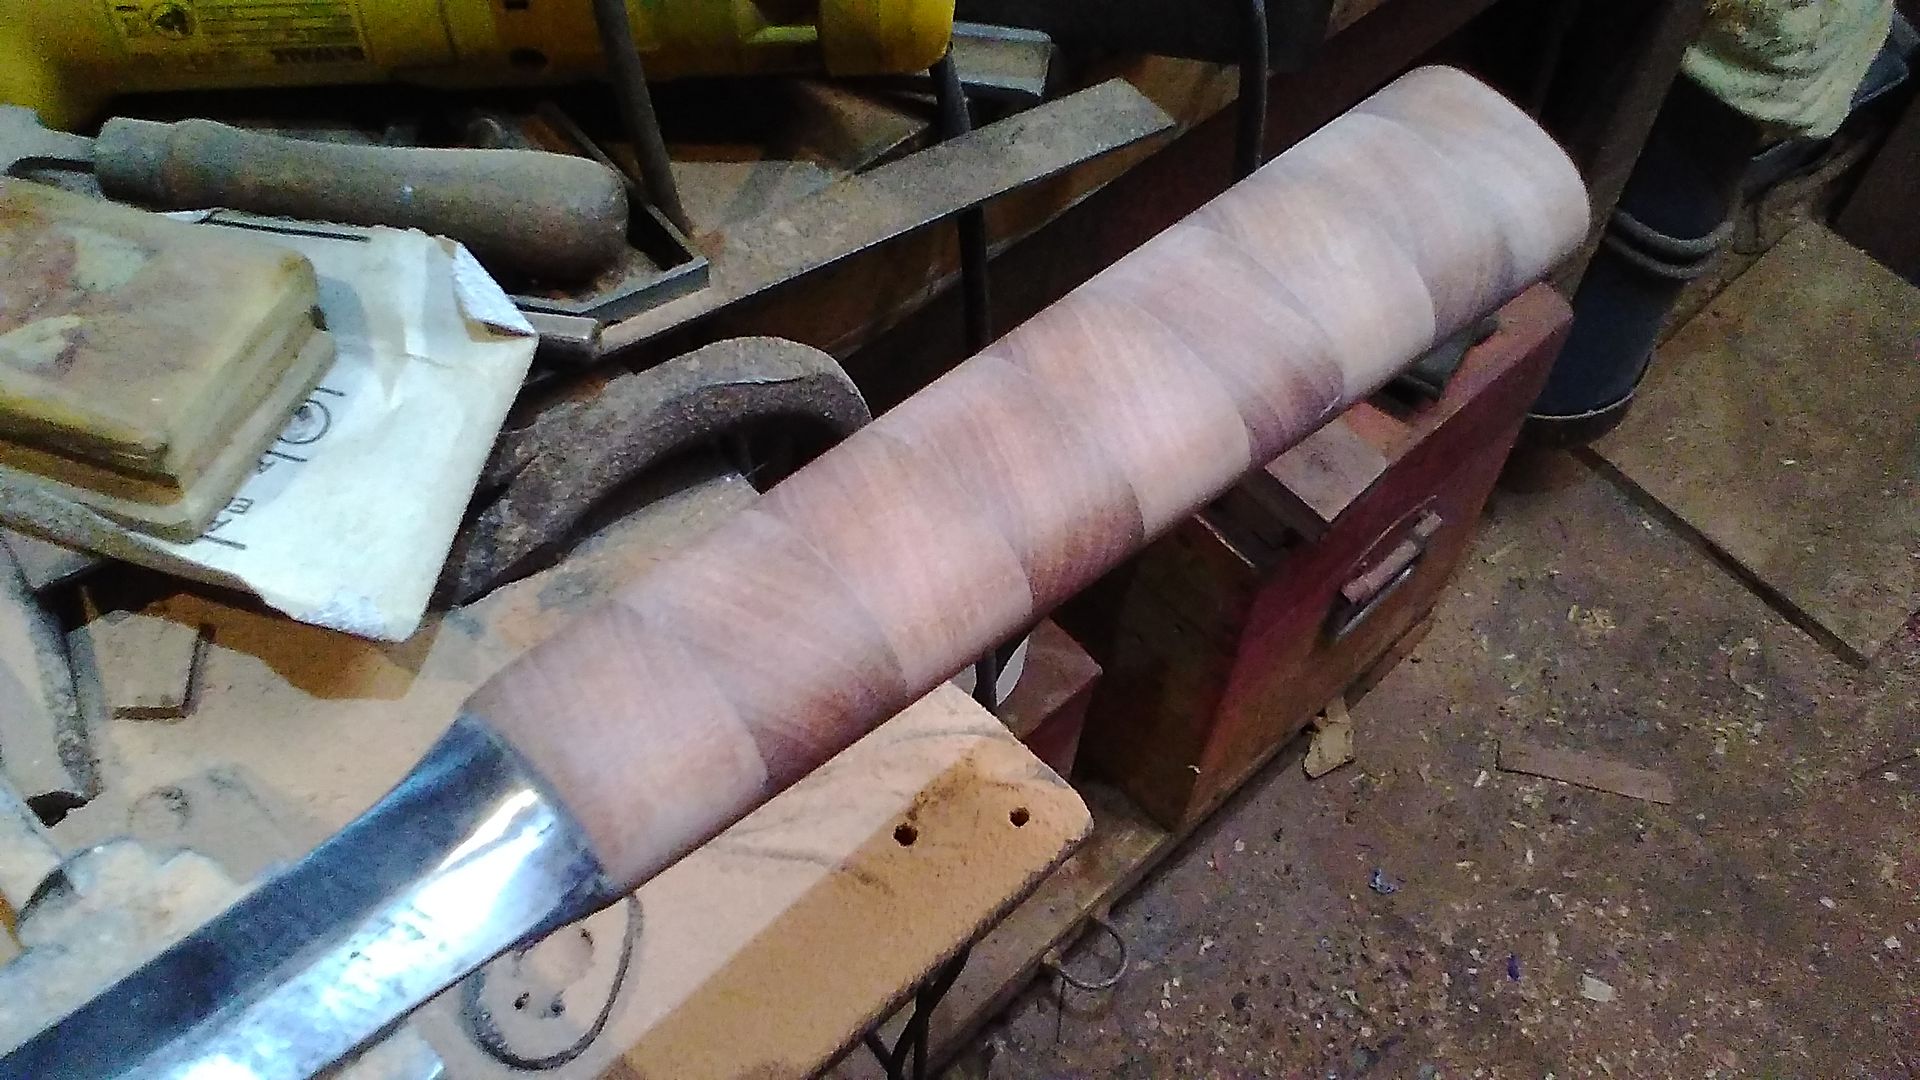
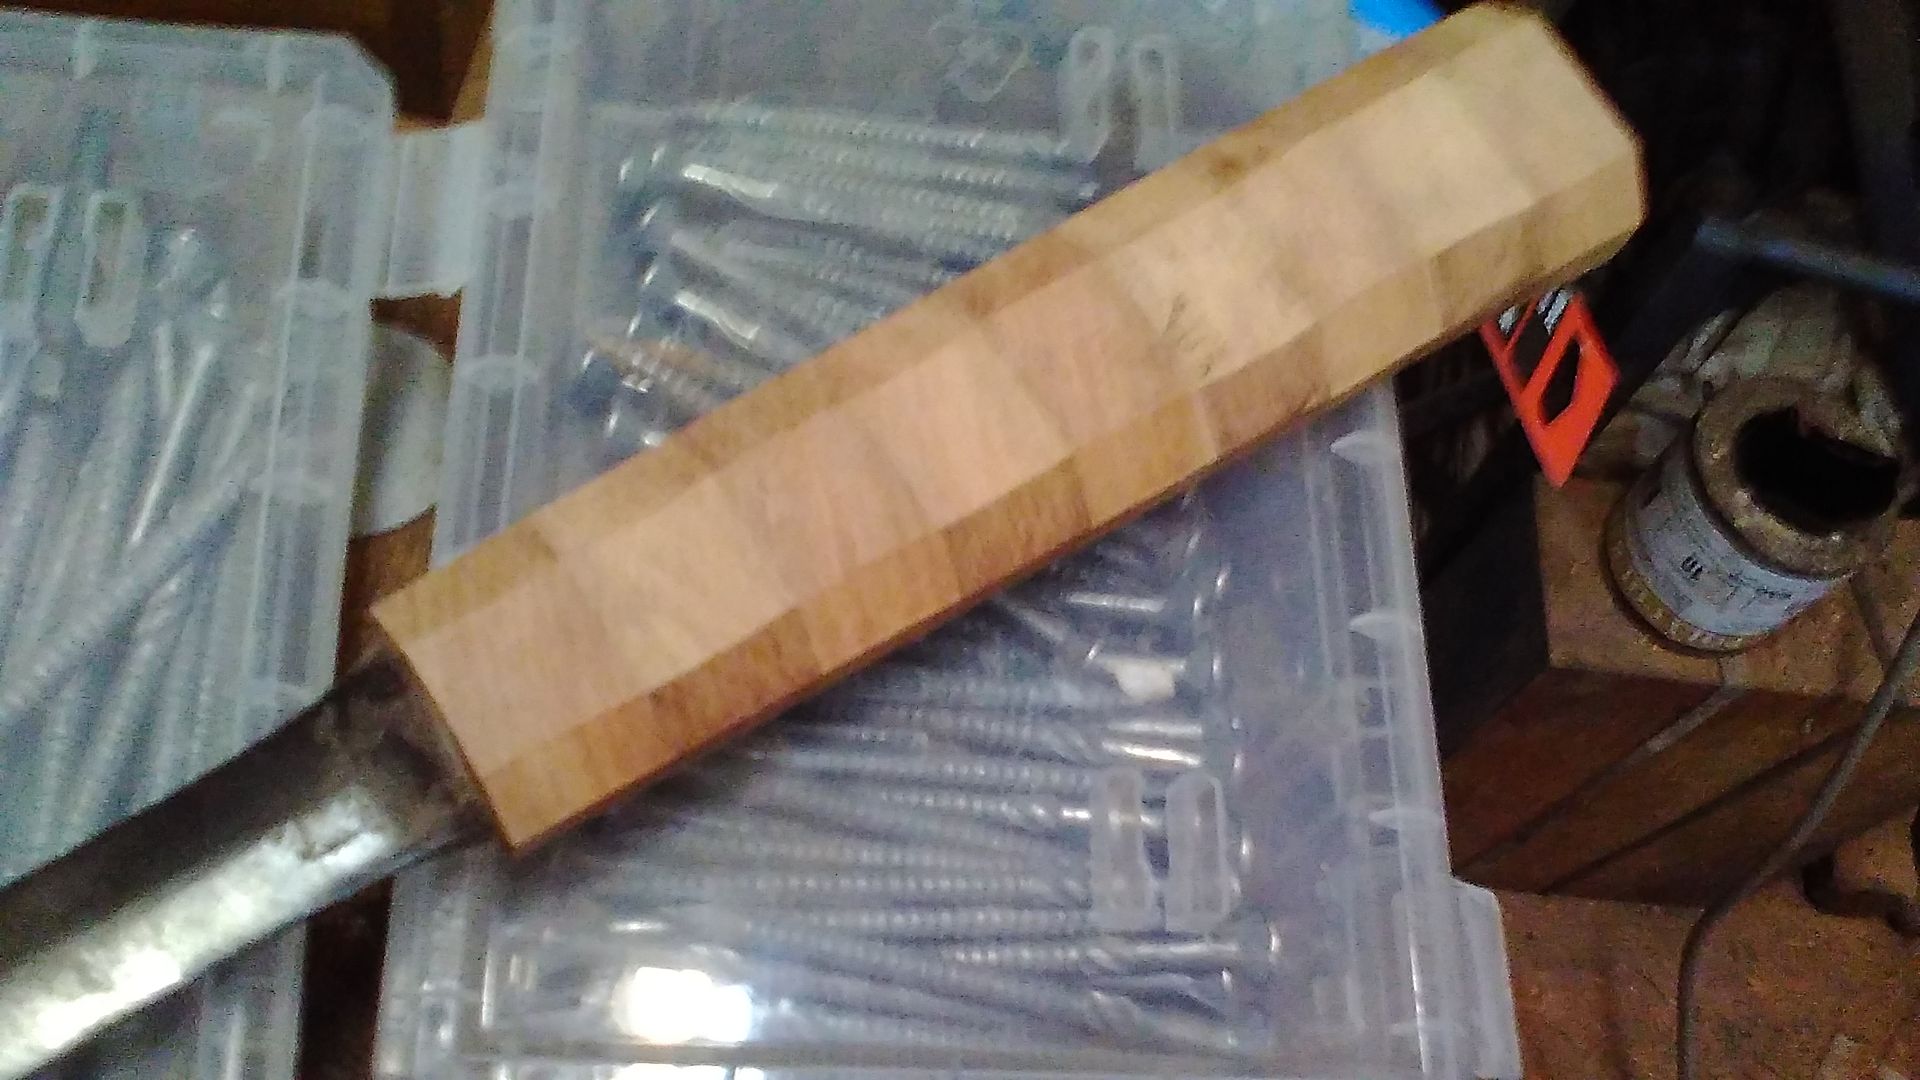
Lots more shaping and sanding with progressingly finer strips of abrasive paper, gave me this.
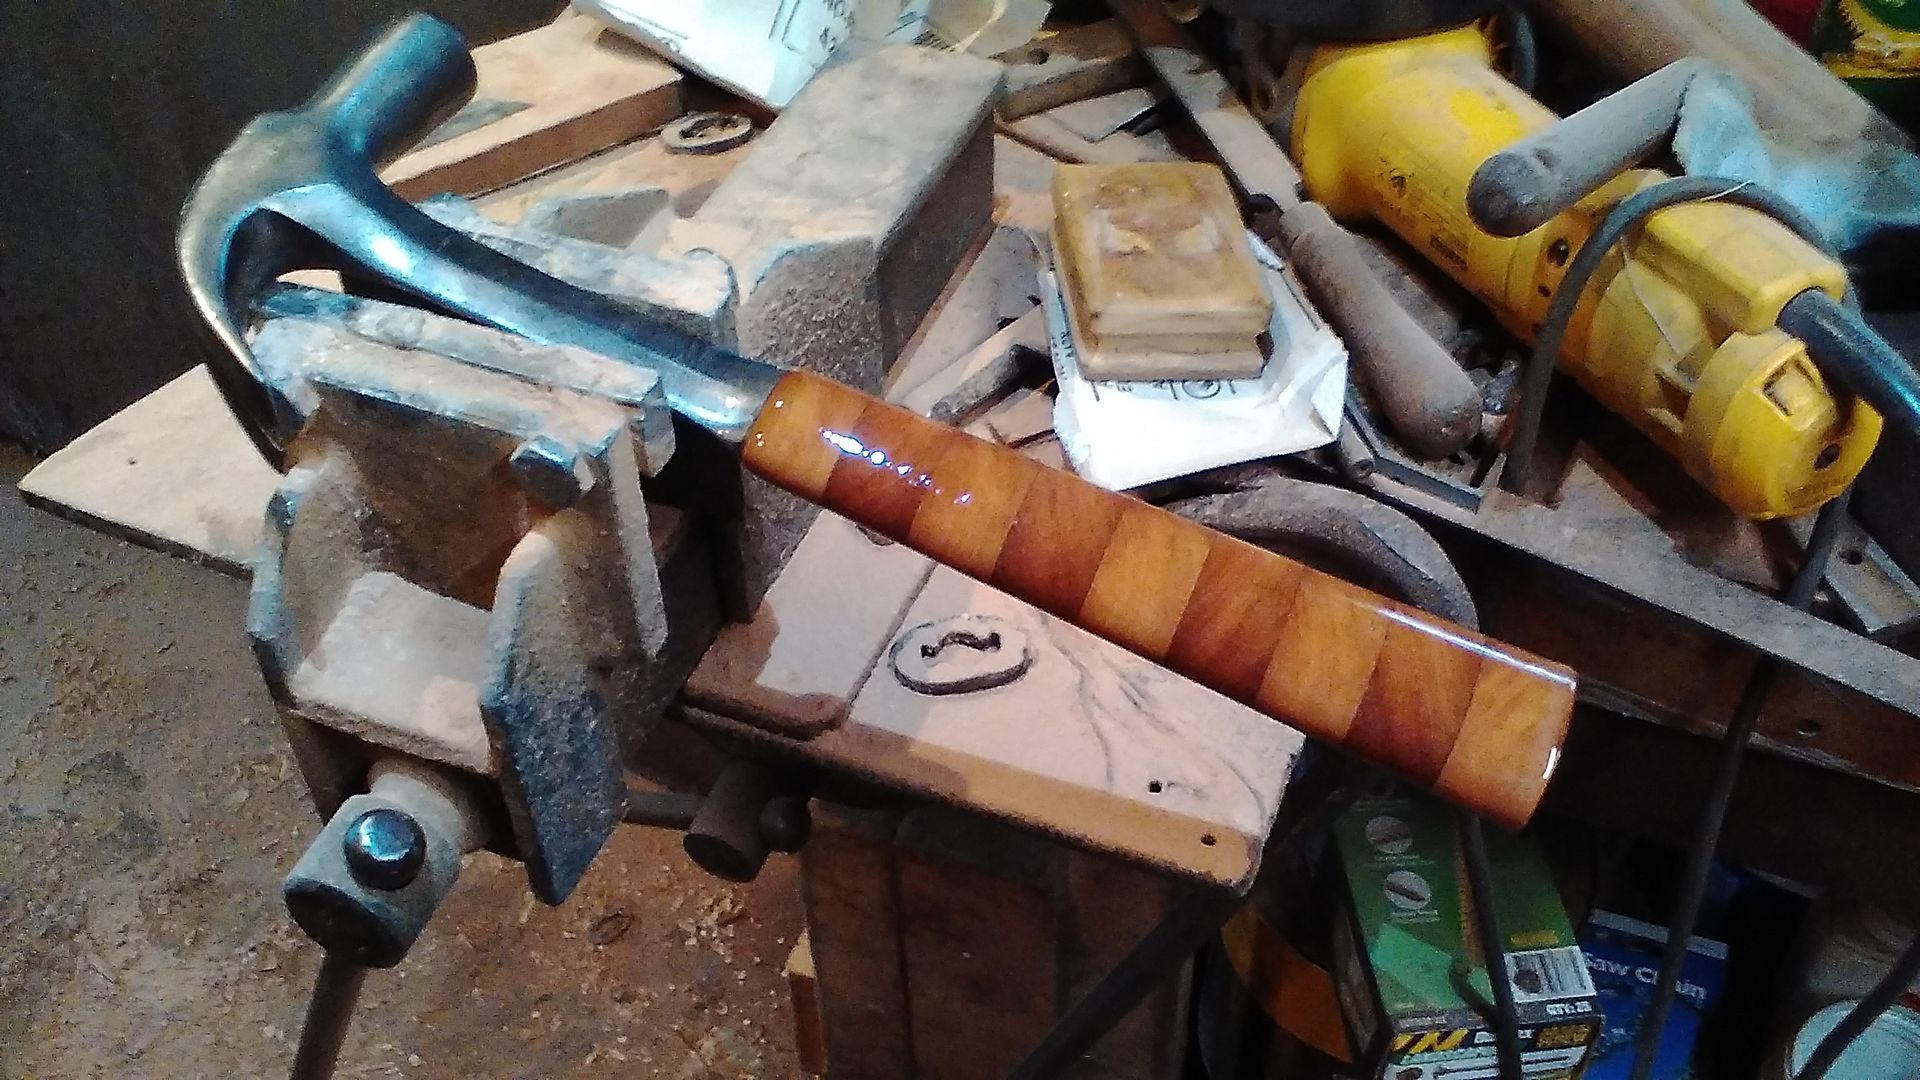
First spray coat of Polyurethane. Shows the effect of the alternating grain on the diagonal.

End cap of synthetic cork glued on, trimmed with a rounding over bit in router.
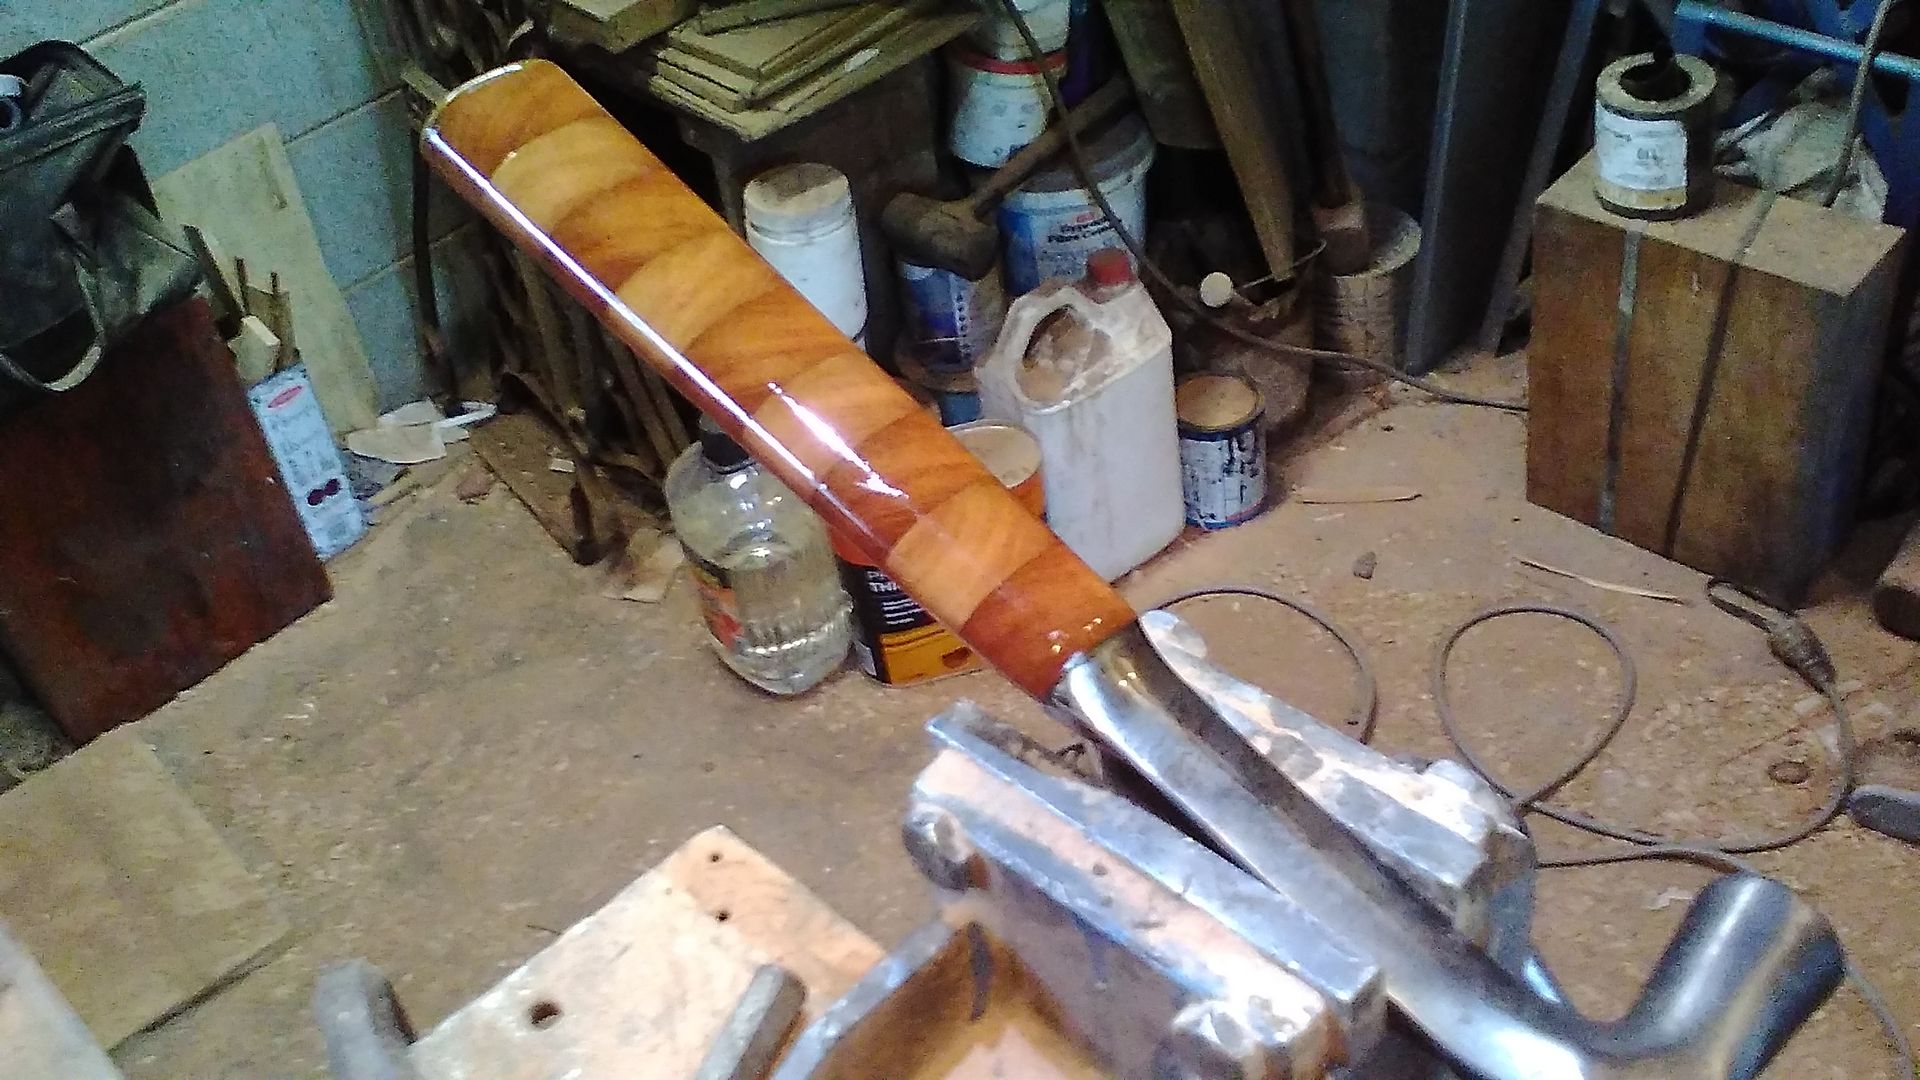
Plus another coat of Polyurethane. And that's about it. I'm pleased with it.
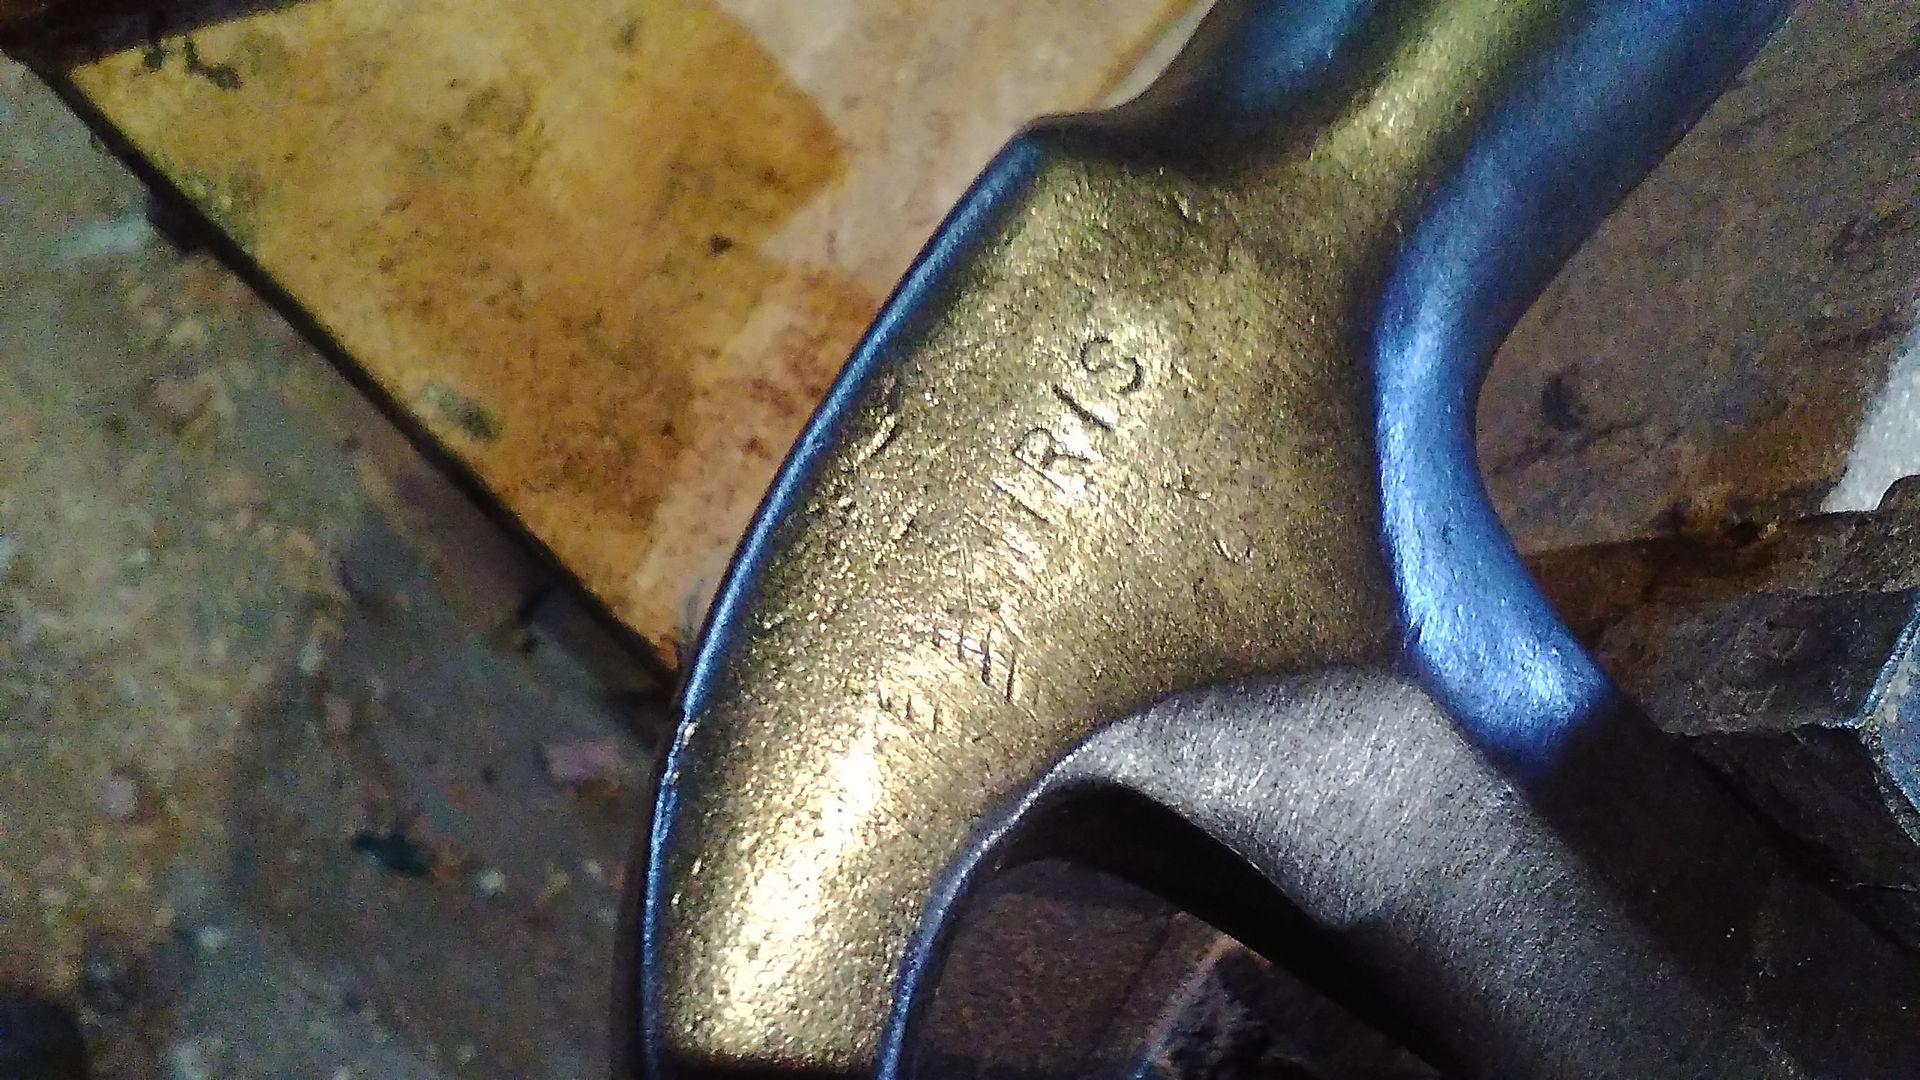
This shot shows the remnants of my name stamped in it well over 40 years ago.
Want to leave a comment or ask the owner a question?
Sign in or register a new account — it's free

No comments have been posted yet...
Want to leave a comment or ask the owner a question?
Sign in or register a new account — it's free