
About three months ago, I came across an article about repairing a cracked dash using spray foam, epoxy, and spray-on bed liner and vinyl paint, and decided to give it a try.
You'll need the following items:
- Solvent or grease remover
- Various sandpaper grits
- Utility knife
- Spray foam in a can (expanding foam insulation)
- Large tube of 2-part epoxy
- Spray can of bed liner
- Spray can of vinyl paint (flexible)
Here's the procedure I used:
- First I removed my dash and took out all the gauges and switches.
- I used automotive paint prep solvent as my grease remover and thinner to clean the dash of all the over thirty years of whatever was on it.
- I used 80 grit sandpaper around the crack areas to try and level it as much as possible.
- I cleaned with prep solvent once again before filling the cracks with spray foam.
- After the foam has cured I used a utility knife and sandpaper to shape the foam to the dash contours.
- Next I mixed up the two part epoxy (bought mine at Lowes, for plastic applications) and spread it out over the cracks. I should have purchased the larger amount as I barely had enough to cover the now foam filled cracks.
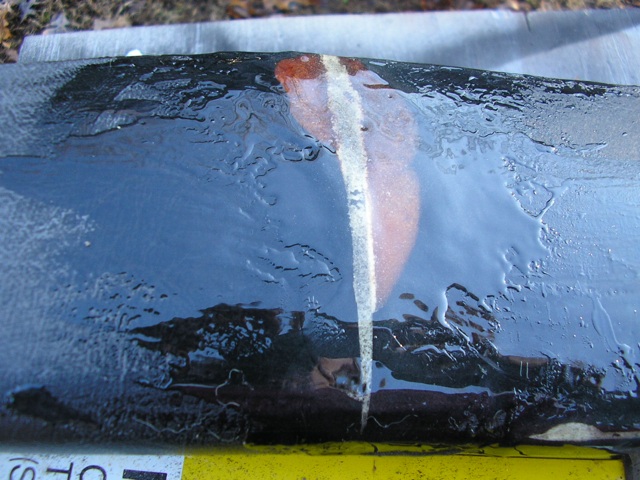
2 part epoxy applied to dashboard cracks, after filling with spray foam
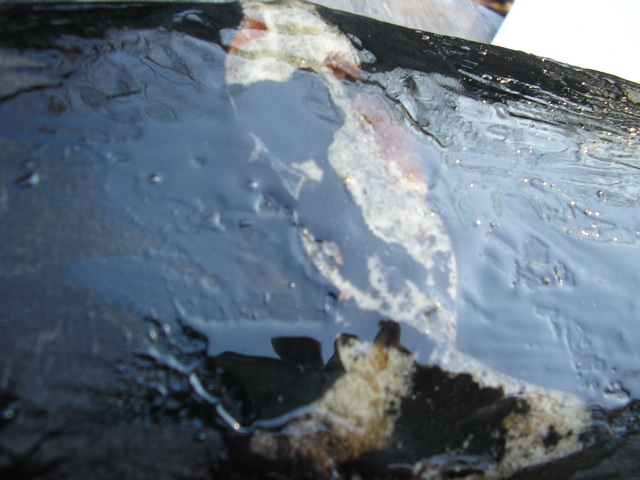
Close up of foam filler on dash curve, covered with epoxy
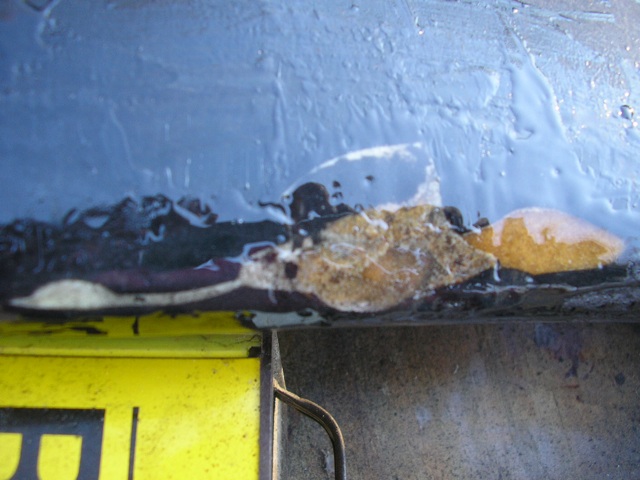
Rough surface of epoxy after applying to repaired dash cracks
- After the epoxy has cured, sand smooth starting with 80 and then 180, 240, 320 then 400 grit to get the final finish.
- Now it's time to spray the bed liner, after the first coat sand with 320 to level, then a second coat.
- Get a vinyl paint and spray the dash to level out the color.
- Finally, one light coat of the bed liner.
Dash Crack Repair Experiment Results
This was the way I did my dash, and for the most part I am happy with the results.
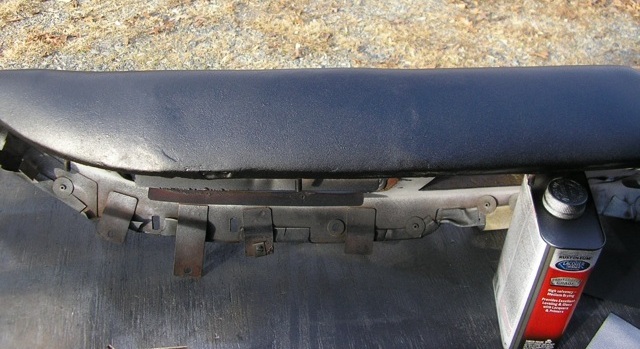
Top view of repaired and painted dashboard, could have been sanded more level
Front view of repaired and painted dashboard, looks almost new!
The two links I have listed below are where I got the idea to do this all the credit goes to Daron Walker for coming up with the idea:
http://gtam.silvahalo.com/dashrepair/
http://gtam.silvahalo.com/dashrepair/index_original.html

")


Want to leave a comment or ask the owner a question?
Sign in or register a new account — it's free